 Craftsmith Guild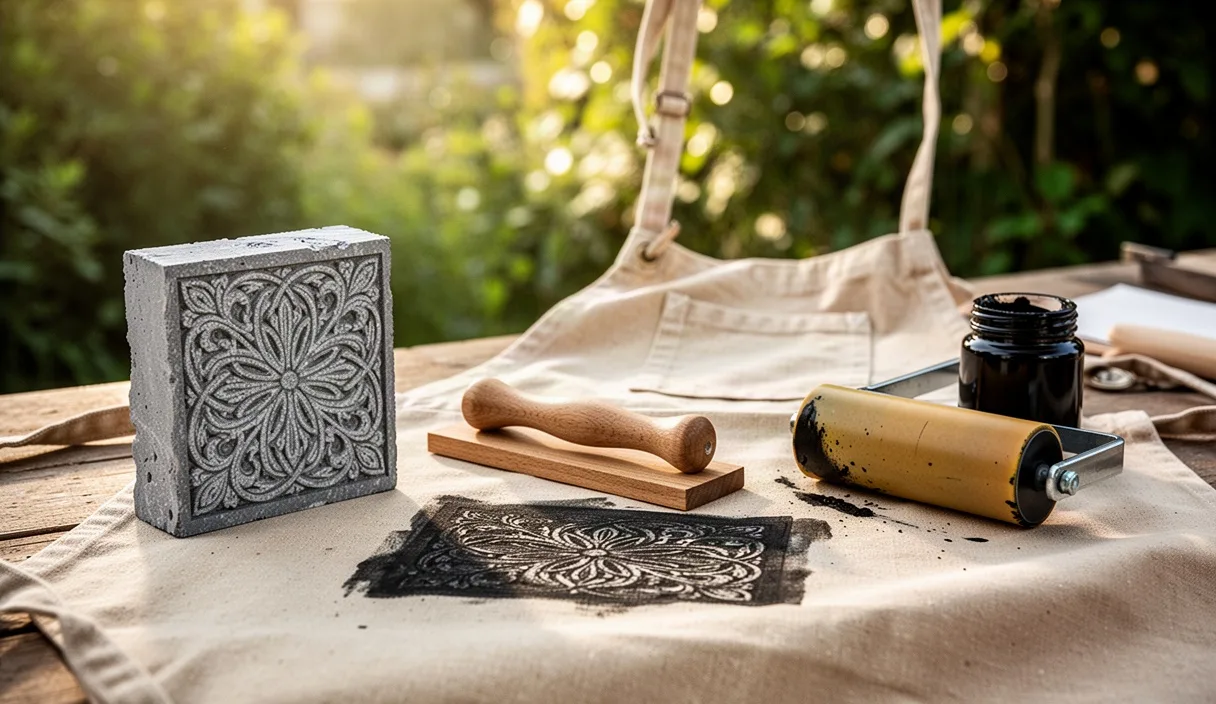
A heavy cotton canvas panel demands far more patience than a sheet of mulberry paper or cardstock. In the damp chill of a workshop morning, when the stone flags are cold underfoot and the kettle takes twenty minutes to boil on the ring, working with heavy textiles requires a deliberate pace. Canvas possesses a coarse, open weave that fights the transfer of fine relief work. If your ink is too slack or your cutting shallow, the twill ribs swallow the print whole, leaving you with patchy blotches and broken contours.
Relief printing onto structural textiles, such as 12-ounce or 16-ounce duck canvas, relies on physical pressure, pigment density, and a substrate that refuses to deflect. Whether you are producing tool rolls, market totes, or heavy studio aprons, printing by hand with carved linoleum bridges traditional graphics and utility gear. Success comes down to mechanical control: choosing a matrix that holds its shoulder under force, formulating an ink that grips without bleeding, and pressing firmly enough to drive pigment down around the woven threads.
Selecting Linoleum Blocks Over Rubber for Fine Detail Retention
When beginners tackle relief printing on textiles, they often reach for soft rubber carving blocks. In a craft hall or home studio, these flexible vinyl or synthetic polymer slabs feel tempting because they cut smoothly without requiring hand strength. Yet on coarse canvas, rubber fails under the heavy pressure needed to push pigment into the weave. Under the downforce of a screw press or a weighted baren, soft synthetic carving blocks mushroom at the margins. That horizontal spread widens thin lines, fills in cross-hatch shading, and leaves a smeared, muddy impression along the edges.
Traditional battleship linoleum, made from oxidized linseed oil, pine rosin, wood flour, and cork dust calendared onto a burlap jute backing, provides the rigidity necessary for crisp detail. Linoleum offers a clean, brittle shear resistance. When you press a linoleum block hard against a ridged weave, the carved walls stand vertical. The crisp shoulder of the relief cut stays firm, preventing ink pooling at the perimeter of the motif.
| Substrate Type | Compression Under 40 psi | Edge Crispness on Duck Canvas | Lifespan Across Production Runs |
|---|---|---|---|
| Standard Battleship Linoleum (3.2 mm) | Negligible deflection | High retention of sharp lines | Over 400 impressions before wear |
| Mounted Linoleum on MDF Base | Zero detectable deflection | Maximum line definition | Over 600 impressions before wear |
| Polymer Soft Carving Block | Noticeable lateral squash | Soft, rounded borders, clogged fine lines | Fewer than 75 impressions |
For shop production, unmounted linoleum can be glued directly to 18 mm birch plywood or medium-density fibreboard using PVA glue under weights overnight. This mounted setup keeps the block dead flat, stopping the linoleum from curling in dry winter air or bowing when heavy downward pressure is applied across the back of the textile.
Carving Broad Silhouettes with U and V Shaped Gouges
Carving for heavy textiles requires a completely different mindset than carving for smooth, archival rag paper. Intricate hair-thin lines under 1 mm wide disappear between the thick warp and weft yarns of industrial duck cloth. Designs must favor bold, deliberate silhouettes, counterbalanced by generous negative space. Every line must have a structural bevel behind it to keep the pressure from snapping off delicate high points.
Your palm gouges dictate the structural shape of your relief walls. A narrow V-gouge cuts clear parting lines and defining contours, but it must be cut at a shallow angle. If you dig too deep, the blade drags and chatters through the cork matrix. Maintain an angle of roughly 25 to 30 degrees to the surface, skimming the tip forward while using your non-dominant hand anchored behind the cut to guide and stabilize the tool.
- Small V-Gouge (1 mm to 2 mm): Use for initial outline scoring and stop-cuts around the edges of the positive shape.
- Medium U-Gouge (3 mm to 4 mm): Clear away intermediate background areas directly flanking the primary artwork.
- Broad Flat Sweep or Deep U-Gouge (6 mm to 9 mm): Clear wide fields of background linoleum to ensure no stray ink touches the canvas.
Always carve negative background areas to a depth of at least 1.5 mm. On paper, a shallow cut of 0.5 mm is enough to clear the inking roller. On canvas, however, the coarse fabric sinks down under pressure into any open gaps on the block. If your background clears are too shallow, the fabric dips into the valleys and picks up ugly ink chatter across the open spaces.
Preparing Heavy Cotton Canvas to Receive High Viscosity Pigment
Raw loom-state cotton duck canvas comes from the weaving mill stiff with industrial sizing, natural pectin, and starches. If you apply oil-based ink straight over this factory surface, the pigment rests on top of the sizing starch instead of bonding to the raw cellulose fibers. After three months of wear or a single cold wash in a tub, the print cracks and peels away from the surface yarns.
Preparing the textile demands a thorough scouring wash. Submerge the cut canvas panels in hot water heated to at least 60 degrees Celsius, mixed with a modest splash of soda ash and a neutral textile detergent. Agitate the fabric vigorously by hand or run it through a heavy utility wash cycle without fabric softeners. This breaks down the sizing and draws out the natural oils, opening the grain of the twisted threads.
Once dried on an overhead rack, the fabric will show natural shrinkage and a raised, slightly fuzzy tooth. Iron the panels completely flat using a heavy steam iron set to high heat. The goal is to collapse the surface nap while keeping the canvas fibers porous and dry. If any moisture lingers within the core of the cotton threads, oil-based ink will be repelled, causing patchy voids throughout the impression.
Rolling Out Oil Based Textile Ink on Glass Inking Slabs
Water-based relief inks dry far too rapidly on the slab and lack the film strength required for heavy cloth. Water-washable or traditional oil-based relief inks, specifically formulations compounded for textiles with pure linseed or stand oil bases, are essential. These inks dry through oxidation rather than evaporation, giving you an open working time of several hours even in a breezy workshop.
Set up an inking slab using a sheet of 6 mm toughened float glass laid flat on a level workbench. Place a level tablespoon of ink at the top of the glass plate. Use a stiff palette knife to work the ink back and forth for two minutes. This action, called knocking down the ink, shears the thixotropic gel structure and turns a stiff, paste-like pigment into a workable, velvety ribbon.
Charge a medium-hard rubber brayer (around 50 to 60 durometer) evenly across the glass:
- Roll the brayer forward into the ink strip, lift, spin the drum slightly in the air, and roll downward again to ensure complete circumference coverage.
- Work the ink until the surface of the roller develops a fine, uniform orange-peel texture.
- Listen closely to the sound of the roll. It should produce a tight, soft hissing sound, not a sticky, wet squelch.
If the ink sounds wet and leaves pronounced ridges on the glass, there is too much ink on the slab. On canvas, excess ink will bleed laterally along the woven channels of the fabric, blurring the design. If the ink is too dry or sparse, the canvas will simply absorb the thin oil layer and leave behind a faded, ghostly gray imprint.
Transferring Ink Under Steady Downward Pressure
Hand burnishing with a wooden spoon or light bamboo baren works well on thin Japanese papers, but it is insufficient for heavy duck cloth. Thick canvas requires consistent, high-tack downforce to seat the viscous ink into the valleys between the yarns. You can achieve this using a cast-iron book press, a converted etching press, or a flat dead-blow mallet combined with a smooth wooden registration jig.
Lay down a sheet of firm, compressed cardboard or a high-density rubber mat on your press bed or printing table. This resilient base offers a tiny amount of give, pressing the cloth back up into the block without rounding off the carved relief corners. Place the inked linoleum block face up on the work surface, align your pre-cut, dry canvas square carefully over the top, and drop it in place without sliding it sideways.
Cover the back of the canvas with a scrap sheet of dry newsprint, followed by a stiff 12 mm sheet of birch plywood cut to the exact size of the linoleum block. Apply pressure evenly:
- Using a Screw Press: Wind the wheel down firmly until resistance is met, then advance the arm another half-turn to lock the pressure. Leave under full load for thirty seconds to allow the oil ink to wet out the cotton yarns.
- Using a Mallet and Platen: If printing by hand without a press, place the plywood over the textile back and strike firmly across the surface in a structured grid pattern using a 900-gram dead-blow mallet, overlapping each blow by half the mallet face.
Peel the canvas from the block steadily from one corner to the opposite edge. Do not jerk the fabric away. The oil film will stretch and release with a distinct tearing sound. Lay the printed piece flat on a drying rack away from direct heat or drafts.
Heat Setting the Finished Canvas Prints for Shop Durability
Because true textile relief inks rely on drying oils rather than synthetic evaporative solvents, they cure slowly. In an unheated workshop during late autumn, an oil-printed canvas needs at least four to seven days of air drying before the pigment film feels dry to a firm thumb-press. Never rush this curing phase with a heat gun, which only skins the top while leaving the ink wet underneath.
Once the print is dry to the touch and no longer smells strongly of raw linseed oil, the ink film must be cured against friction and routine washing. Heat setting cross-links the oil polymers deep within the cotton matrix, locking the pigment granules into the weave.
Use a professional garment heat press or a dry household flat iron with no water in the reservoir. Set the temperature carefully according to the textile weight and ink instructions, typically between 150 and 160 degrees Celsius. Place a sheet of unbleached greaseproof baker paper over the face of the print to protect the heated iron base from any residual surface pigment.
Press down with firm body weight for 45 seconds over each printed section. Do not sweep the iron back and forth, as the mechanical drag can scuff the warm ink film. Lift the iron cleanly, move to the adjoining quadrant, and press again. When complete, turn the canvas panel over and iron the reverse side for an additional 30 seconds to draw the heat straight through the core of the cotton duck.
Common Mistakes
- Skipping the Scour Wash: Printing directly on newly bought canvas. The sizing agents will reject the ink, resulting in flake-off after minor handling.
- Using Overly Soft Inks: Diluting oil inks with spirits or low-viscosity oils. The thin liquid wicks outward through capillary action along the twill fibers, creating a greasy halo around every shape.
- Under-clearing the Linoleum: Leaving shallow carving marks in broad negative areas. Under high press weight, canvas sags into these recesses and picks up stray ridges of background ink.
- Uneven Pressure Distribution: Pressing without a rigid backing platen. Canvas flexes under hand baren work, leading to patchy prints that are dark in the center and weak at the corners.
- Premature Heat Setting: Applying heat while the core of the oil ink layer is still wet. This boils the carrier oil, causing blistering, pinholes, and loss of adhesion.
Next Steps in the Workshop
To begin a production run, cut a small swatch of your chosen canvas into test strips of 150 mm square. Carve a small 50 mm test block containing a fine line, a medium line, and a solid black patch. Pull three test prints onto these scoured canvas squares under varying amounts of pressure to identify the exact resistance of your shop press.
Check the reverse side of the test swatch once the impression is pulled. A correct strike will show the faint shadow of the artwork pressed into the back of the weave without any wet pigment bleeding through to the rear. Adjust your ink slab volume and clamp downforce based on this test before committing to a full yardage cut of heavy duck cloth.