 Craftsmith Guild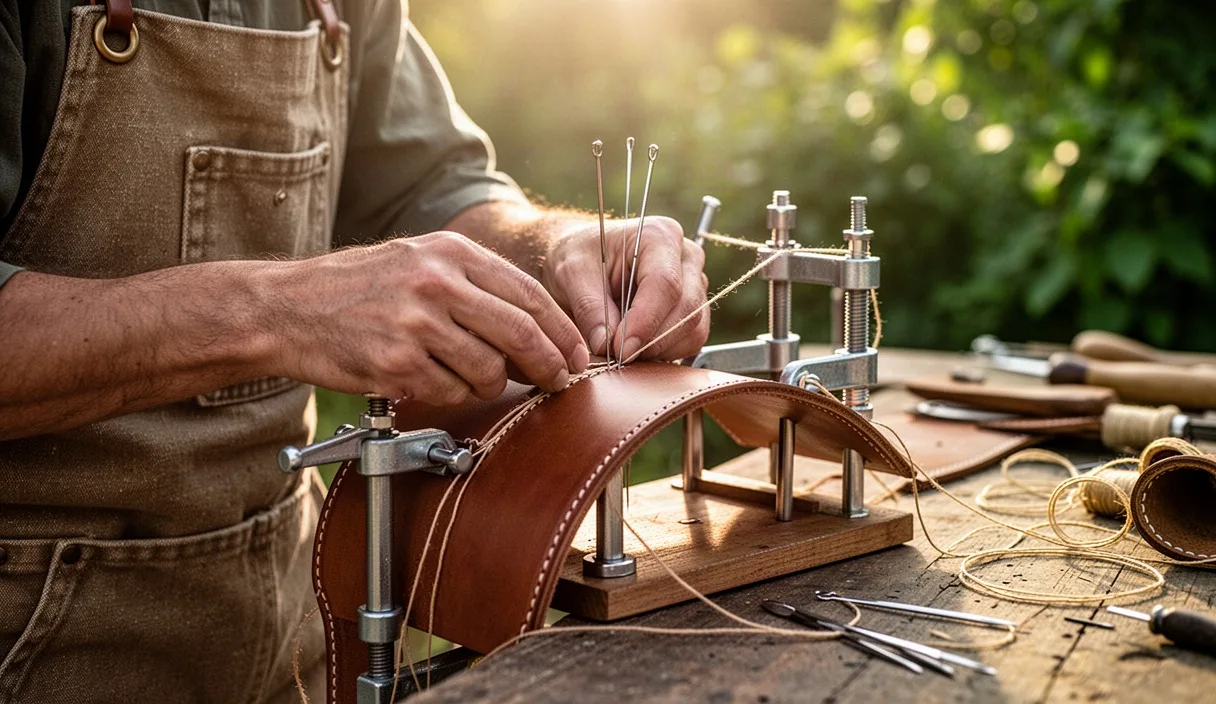
In the saddlery workshops around Walsall, through wet November mornings when the damp creeps off the canal and settles into the timber workbenches, hand stitching remains an unhurried trade. Vegetable-tanned leather demands this patience. Unlike chrome-tanned skins that yield easily to a machine feed dog, bark-tanned bridle hide and full-grain shoulder possess a firm, fibrous temper that fights irregular tension. If you rush the preparation or pull an uneven knot, the hide will record your error for decades.
The traditional two-needle saddle stitch creates a mechanical lock between two layers of leather. When a sewing machine skips or suffers a broken top thread, the entire seam unzips under load. A hand-sewn saddle stitch, formed by passing two needles through the very same awl pierce from opposite directions, forms an independent figure-eight bind. Even if wear abrades the exposed linen on one face, the opposing loop holds the leather together. Doing this properly requires clean edge prep, sharp steel tools, hand-waxed flax, and a methodical rhythm at the stitching pony.
Preparing Vegetable Tanned Leather Edges for Stitch Grooves
Before any steel touches the face of the hide, the mating pieces must become a single, immovable unit. If the two layers slip while you punch your holes, your stitch line will wander on the back side. True the edges using an edge beveler suited to the hide thickness: a size 1 or 2 beveler for leather between 1.8 mm and 2.4 mm, or a size 3 for heavy 4.0 mm strap work. Sand the flesh side lightly with 240-grit paper along the gluing margin to break the glaze, apply a thin coat of water-based contact adhesive such as Renia Aquilim 315, let it dry clear for twenty minutes, and bring the faces together with a bone folder.
Once the bond support, determine whether your seam requires an open grooving cut or an indented reference line. For hard-wearing harness work, dog leads, or bags that slide against grit, cutting a shallow channel protects the thread beneath the surface. For fine small leather goods, an embossed scribe line made with wing dividers is better, as it preserves every grain fiber.
To prepare the line accurately, proceed as follows:
- Scribe the margin: Set your wing dividers to 3.5 mm for light pocket goods or 4.5 mm for heavy belts. Rest the polished guide leg against the cut edge of the leather and draw the hardened point toward your body under light, uniform pressure.
- Cut the channel if recessed thread is required: Take an adjustable stitch groover, register the guide stop against the rim, and pull the tool down the scribed track in one continuous stroke. Do not dig deeper than one third of the top layer thickness. A typical channel depth sits between 0.4 mm and 0.6 mm.
- Moisten the grain slightly: If the leather is dry, rub a damp sponge along the groove. Vegetable-tanned leather takes tool impressions far better when the moisture content in the outer grain is slightly raised, preventing the grain from tearing or micro-cracking during punching.
Choosing Pricking Irons and Stitch Pitch Spacing
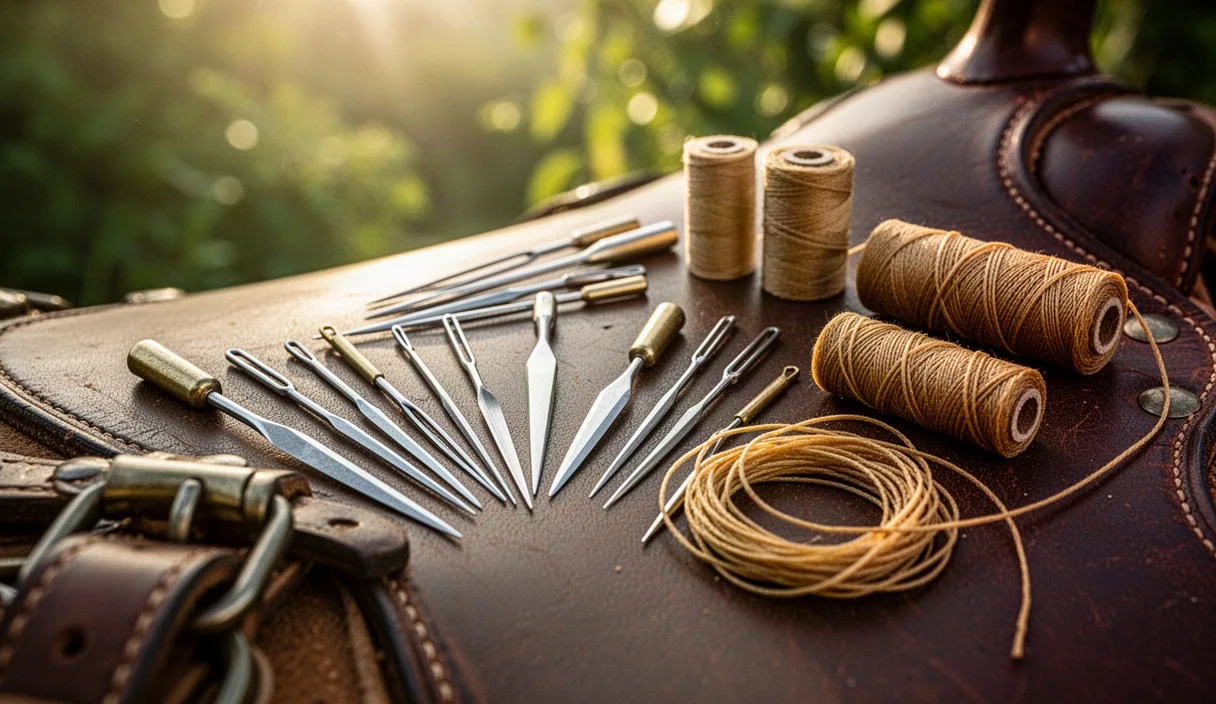
Pricking irons determine the slant, density, and structural integrity of the finished work. English and French irons slice angled slits through the grain, whereas diamond chisels punch larger diamond-shaped apertures. In Walsall work, traditional irons merely mark the slant on the surface, leaving the final hole to be opened by a diamond awl as you sew. Modern high-tolerance irons, however, punch completely through thin to medium assemblies, ensuring identical spacing across both faces.
Stitch pitch is measured either in millimeters between tooth tips or in stitches per inch (SPI). Finer pitches look refined on watch straps and wallets, but on 4 mm thick bridle leather, spacing holes too closely together turns the stitch line into a perforation that tears like postage stamps under shear stress.
| Style of Tool | Standard Pitch Spacing | Recommended Thread Size | Best Application |
|---|---|---|---|
| French Style Iron | 2.7 mm to 3.38 mm (8 to 9 SPI) | 0.45 mm to 0.55 mm linen | Card wallets, small watch bands, notebook covers |
| Diamond Chisel | 4.0 mm (6 to 7 SPI) | 0.6 mm to 0.8 mm waxed thread | Tote bag gussets, mid-weight briefcases |
| English Saddler Iron | 4.5 mm to 5.0 mm (5 to 6 SPI) | 0.8 mm to 1.0 mm cable linen | Heavy bridle harness, scabbards, belt tabs |
When striking your irons, place the leather over a piece of high-density polyethylene board or end-grain timber. Hold the tool perpendicular to the bench: tilting the iron away or toward you causes the exit slits on the reverse side to wander out of alignment. Strike with a wooden mallet or a 14-ounce deadblow poly hammer. Use two light taps rather than one violent blow so you can feel the teeth seat into the backing board without deforming the teeth.
Waxing Raw Flax Thread for Wet Weather Durability
Synthetic braided polyester threads have their place, but unbleached linen cable, such as French Lin Câblé or traditional Barbour flax, remains the benchmark for vegetable-tanned work. Flax does not stretch under steady load, meaning your tension stays true through years of handling. Raw flax, however, absorbs moisture from English rains and will rot if left untreated. It must be fortified with natural wax before it meets the needles.
Pure yellow beeswax collected from local hives provides the base, though harness makers often melt in a small quantity of light pine rosin during winter months. Rosin gives the wax a slight tackiness that locks the thread fibers securely within the stitch channel. Pull your measured thread (cut to roughly four times the seam length) across a block of solid beeswax three times, keeping your thumb pressed down to cut the wax into the strands.
Next, set the wax into the thread. Take a scrap piece of thick harness leather or stiff canvas, fold it over the waxed thread, and draw the thread through rapidly under firm finger pressure. The frictional heat melts the wax, driving it into the core of the twisted flax rather than leaving gummy flakes on the outside. When cooled, the thread feels stiff, holds its shape like a soft wire, and will not fray or split when pierced by a stray needle tip.
Casting the Needle Loop for Symmetrical Stitch Slants
Clamp the leather in your stitching pony with the front face (the show side) facing to your right. Thread two harness needles (John James size 2 or 4 are standard) by piercing the needle through the flax 25 mm from the tail, pulling the tail down to form an interlocking anchor that will never slip free. The goal is to produce a seam where the stitches slant downwards uniformly on the front, while sitting flat or symmetrically inclined on the rear.
To cast the needle loop reliably across every stitch, maintain this sequence:
- Insert the first needle: Push the left needle through the hole from the back toward the front, or lead with the right needle depending on your chosen rhythm. Let us use the traditional method: right needle enters the hole from the front face and passes through to the left.
- Draw the thread forward: Pull the right needle through until roughly 75 mm of thread remains loose, pulling down and back toward your hip to seat the thread firmly into the bottom corner of the angled hole.
- Enter with the opposing needle: Take the left needle and push it through the very same hole above the first thread. Keep the needle angled upward slightly to avoid splitting the flax strand already sitting in the bottom of the slit.
- Cast the thread: As the left needle clears the hole toward the right, pick up the loop of the original right-hand thread and wrap it over the top of the incoming needle point from back to front. This cast acts as an internal half-twist that forces the back stitch to slant in harmony with the front.
- Set the tension: Pull both hands apart laterally with matching firmness. Do not yank violently: pull until you feel the knot seat inside the middle third of the leather thickness.
Repeat this motion without changing your grip. A single stitch pulled with a reverse cast or altered angle will stand out instantly on the finished work, breaking the steady cadence of the seam.
Locking Off the Backstitch Cleanly Without Modern Knots
In modern synthetic work, crafters often melt thread ends with a lighter, leaving an unsightly black plastic blob on the flesh side. This has no place in traditional leatherwork. Vegetable-tanned leather combined with waxed flax should be locked purely through friction and backstitching.
When you reach the final hole of your seam, do not cut the thread. Reverse direction and stitch backward through the last two or three existing holes, following the exact path of your previous stitches. Use a slightly thinner needle or a scratch awl to ease the way, because the holes already hold two passes of waxed flax. As you pass the needle through, take care not to pierce the threads already occupying the space.
Once you have backstitched three full stitches, bring both needles out to the flesh or less visible face of the work. Pull both strands taut against the leather. Place a round-ended, razor-sharp skiving knife or a Japanese craft knife flat against the leather face, edge angled away from the grain, and press the thread down across the blade so it shears off flush with the surface. The tension pulls the tiny remaining stub back inside the hole channel, out of sight. A drop of gum tragacanth or pure water smoothed over the spot will close the hole mouth over the cut ends.
Tapping the Finished Seam Flat with a Polished Cobbler Hammer
When the stitching pony is loosened and the work comes off the clamp, the seam will look slightly proud, with linen loops standing above the level of the grain. If left like this, normal pocket friction or edge wear will abrade the thread heads within a few seasons. The seam must be consolidated.
Place the stitched edge on a smooth, clean granite slab or heavy cast-iron anvil face. Check the face of your cobbler hammer: it must be polished to a mirror shine using 1200-grit wet-and-dry paper and metal polishing compound. Any ding, dent, or mill mark on the hammer face will transfer directly into the damp vegetable-tanned grain, ruining hours of careful tooling.
Resting the leather flat, strike down along the stitch line with light, rhythmic taps. You are not trying to smash the leather fibers; you are coaxing the waxed linen down into the groove or pre-cut channel. The striking motion should move progressively along the line at an angle of roughly 80 degrees, pushing the thread slant tight into the slits. The hammer action also compresses the displaced grain around each puncture, closing the leather lips over the thread and sealing the channel against water entry.
Follow the hammering by running a smooth boxwood or bone folder along the seam with medium hand pressure. This warms the surface wax, burnishes the grain rim, and leaves a clean, flush run of stitching that feels like a single integral band along the perimeter of the piece.
Common Mistakes in Hand Stitching
Even practiced leatherworkers running small workshops face flaws when distraction breaks their cadence. Watching for these standard errors keeps scrap rates low:
- Splitting the internal thread: Failing to pull the first thread firmly downward when the second needle enters the hole. The second needle pierces the fibers of the first, creating an internal jam that prevents proper tightening and weakens the seam.
- Inconsistent cast direction: Casting the loop on some stitches while forgetting it on others. This produces a disorderly line where some stitches lie flat while neighbors jump upward at wild angles.
- Over-tightening: Pulling the linen with excessive force on light hides (under 1.5 mm). This puckers the leather between the holes, creating a corrugated wave effect that no amount of hammering can flatten.
- Striking irons off-plumb: Tilting the pricking irons even 5 degrees left or right. The face of the leather will appear straight, but the rear stitches will stagger crookedly across the scribe line.
Next Steps for Your Workbench
To master the saddle stitch, start with scrap pieces rather than an active project. Cut four strips of 2.5 mm vegetable-tanned shoulder, each measuring 50 mm wide by 200 mm long. Glue them into pairs using water-based contact cement, trim the long edges square with a heavy steel ruler, and mark your lines.
Dedicate one pair to 4 mm spacing and the second to a finer 3 mm pitch. Stitch both strips from end to end using hand-waxed linen, deliberately testing your cast on the first fifty stitches and omitting it on the next fifty. Cut through the seam crosswise with a razor to inspect how the threads sit inside the center of the lamination: the knot should rest precisely halfway through the thickness, not near either face. Once your tension and slant look identical across twenty consecutive inches of test seam, you are ready to stitch your first proper belt, sheath, or notebook cover.