 Craftsmith Guild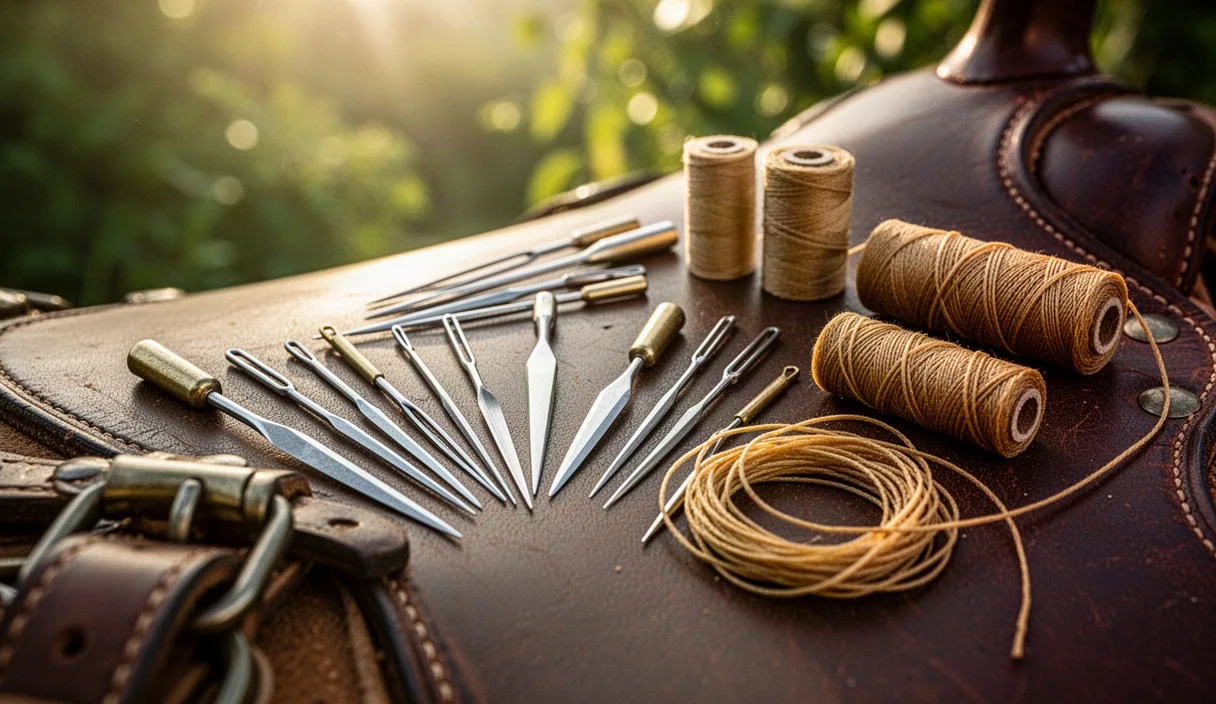
Step inside any workshop around the old saddlery quarters of Walsall on a damp November morning, and you will smell the birch tar, fish oil, and damp vegetable-tanned shoulder hanging from the racks. The tea goes cold on the bench edge while a worker fights a thick run of hand-waxed linen thread. When you step up your thread gauge for heavy harness work, knife sheaths, or double-layered trace leather, the balance between your awl blade and needle eye becomes unforgiving. A needle that jams in the hole or an awl that slices a slit twice the width of your twine will ruin days of careful skiving and edging.
Working with thread diameters north of 0.8 millimeters requires a deliberate shift in how you dress and size your piercing tools. A traditional saddler does not force needles through stubborn hides with pliers, nor do they punch out wide round gaps that leave the inner grain exposed to grit and rainwater. Clean hand stitching depends on an aperture that yields just enough clearance for two passes of thread and two needle bodies, closing tightly around the waxed fibers once drawn home. Getting that clearance right starts with the profile of your steel.
Anatomy of Diamond, Round, and Scratch Awl Profiles
The cross-section of your awl blade dictates how the leather fibers part, stretch, and heal around the thread. Using the wrong geometry on heavy work guarantees uneven stitches and structural failure along the seam line. Three distinct blade shapes dominate traditional bench work, each tailored to a specific mechanical behavior inside the leather grain.
The diamond awl, often sold as a harness awl, features four distinct facets meeting at two sharp cutting edges and two obtuse compression ribs. When ground correctly, the cross-section forms a flattened rhombus rather than a square. The two sharp edges must cut across the grain at an angle, usually forty-five degrees, while the obtuse sides push the vertical grain aside without severing it. This creates a slit that accommodates the thickness of braided or twisted cord while preserving the tensile strength of the leather between stitches. If the diamond profile is ground too plump, it acts like a wedge, splitting brittle oak-bark bridle leather along the stitch groove.
Round awls and scratch awls serve completely different purposes and must never be substituted for diamond profiles on heavy seams. A round awl, tapered like a needle along its entire length, does not cut leather fibers. Instead, it spreads them radially. While useful for pegging work or piercing soft chrome-tanned bag liners, driving a round awl through an eight-millimeter stack of vegetable-tanned cowhide compacts the grain into a dense ring, making needle passage stiff and causing the exit side to blow out in an unsightly volcano. Scratch awls feature a rapid taper meant only for scoring cut lines or finding pilot marks, carrying far too much belly near the point to regulate hole sizing across a long run of welted leather.
| Profile Shape | Primary Function | Internal Fiber Effect | Best Thread Compatibility |
|---|---|---|---|
| Diamond (Harness) | Saddle stitching load-bearing seams | Cuts a clean slit at an angle while spreading adjacent fibers | Heavy braided poly, 18/4 and 18/5 waxed linen (0.8mm to 1.4mm) |
| Round (Pegging) | Lining alignment and round-hole repair | Displaces grain radially without severing fibers | Fine single cords, twisted linen under 0.6mm |
| Scratch (Marking) | Pattern transfer and pilot indexing | Tears surface grain if driven deep | Not suitable for thread clearance |
Matching Thread Diameters to Leather Thickness Grades
Heavy leatherwork falls down when a maker pairs stout thread with light hides, or thread too fine for dense multi-ply laminations. Thread must fill approximately seventy to eighty percent of the slit volume left by the awl. If the cord is too thin, the unsealed leather pocket collects street dirt, horse sweat, and grease, rotting the core. If the cord is too thick, forcing it home burns the wax and shears the face grain around the hole entry.
In heavy trace and scabbard work, leather thickness is measured in ounces or millimeters, where one ounce equals approximately 0.4 millimeters. Stitching two plies of ten-ounce harness leather creates an eight-millimeter wall. A seam this deep requires a thread with sufficient tensile strength to pull the layers bone-tight without snapping, paired with an awl blade broad enough to clear a path through the center core without widening the surface grain beyond repair.
- Light Utility (5 to 7 oz total thickness, 2.0 to 2.8mm): Use 0.6mm braided polyester or 18/3 waxed linen. An awl blade width of 1.8mm provides ample clearance without tearing delicate grain.
- Medium Bridle and Holster (8 to 11 oz total thickness, 3.2 to 4.4mm): Step up to 0.8mm braided cord or 18/4 linen. Pair this with an awl blade between 2.0mm and 2.3mm wide at the widest point of penetration.
- Heavy Harness and Sheaths (12 to 16 oz total thickness, 4.8 to 6.4mm): Employ 1.0mm to 1.15mm thread, such as heavy braided nylon or 18/5 linen. Use a 2.5mm to 2.8mm diamond awl driven consistently to its shoulder stop.
- Multi-Ply Trace and Saddlery (18 to 24 oz total thickness, 7.2 to 9.6mm): Requires 1.2mm to 1.4mm cord. Awl widths must reach 3.0mm to prevent needle lock deep within the middle welts.
Selecting Harness Needles That Do Not Pierce Internal Plies
Needles made for hand stitching leather are blunt. If you attempt heavy stitching with pointed sailmakers needles or embroidery needles, the point will inevitably spear your first thread pass inside the dark center of the leather lamination. Once a needle pierces through the core of the laid thread, that stitch cannot be tensioned, the thread will fray into birds-nests, and backing the needle out often shreds the cord completely.
Harness needles, traditionally manufactured by firms like John James in Redditch, feature an oval eye and a rounded, bulbous tip often called a ballpoint or spearhead point. The eye must be narrow enough to follow the needle body without hanging up on the edges of the leather slit. When working thick thread, selecting the needle requires balancing eye clearance against shaft diameter. The folded tail of the waxed cord must slip through the eye and tuck back against the shaft without forming an oversized knot.
For threads from 0.8mm to 1.0mm, a size 2 or size 1 harness needle provides the correct barrel diameter. A size 2 needle measures roughly 1.02mm in shaft thickness, gliding cleanly behind a 2.2mm diamond awl slit. When your thread increases to 1.2mm or 1.4mm braided wax cord, drop to a size 0 or 00 needle. These heavier needles feature thick walls around the eye that resist bending when pulled through dense skirting leather, yet their rounded tips slide past the first thread pass, pushing the wax cord aside within the channel rather than puncturing it.
Polishing Awl Blades for Frictionless Leather Entry
A factory-fresh awl blade is rarely ready for heavy work. Machine grind marks on the steel facets act like miniature files against the leather grain, dragging fibers inward on entry and pulling raw flesh outwards on the return stroke. A mirror polish on all four flats transforms a stiff tool into one that slides through twelve ounces of oak-bark leather with gentle wrist pressure.
Begin by securing the awl blade in a hand vise or leaving it mounted firmly in its wooden haft. Inspect the four facets under bright raking bench light. If deep grinding ridges exist, work them out using dry silicone carbide paper backed by a flat piece of plate glass or a hard maple block. Never round off the distinct center ridge that separates the cutting facets.
Refining the steel requires a progressive sequence:
- Establish Flat Facets: Lay the awl face dead flat on 800-grit wet-or-dry abrasive paper lubricated with light mineral oil. Draw the blade backward along its axis, pulling away from the point for ten to twelve strokes per facet. Check that the edge bevel remains razor-sharp.
- Remove Scratches: Move to 1200-grit, then 2000-grit abrasive paper, repeating the unidirectional backward pulling strokes until the surface ground marks vanish completely.
- Compound Stropping: Charge a strip of firm vegetable-tanned horsebutt or dense cowhide with fine green chromium oxide buffing compound. Anchor the strop to your bench hook.
- Final Burnish: Draw each facet down the stropping leather thirty to forty times under firm downward thumb pressure. The metal must reach an absolute mirror sheen with no visible cloudiness.
- Ease the Point: Inspect the extreme tip. If the point forms a needle-thin needlepoint, pass it once over an Arkansas stone to create a microscopic radiused crown. An extreme needle tip hooks in tough fibers; a microscopic radius glides between them.
Correcting Enlarged Awl Holes in Delicate Veg-Tan Projects
Driving an awl too deep or tilting the wrist mid-thrust produces a gaping, irregular hole that exposes raw corium and swallows fine thread whole. In vegetable-tanned projects where aesthetics are paramount, an oversized slit breaks the continuous rhythm of the seam. While you cannot put severed grain back together, you can close the void before finishing the project.
The primary corrective tool is an unheated bone folder or a polished boxwood slicker, coupled with a controlled application of dampness. Lightly moisten the leather grain around the affected stitch using a badger-hair brush dipped in clean rainwater or distilled water. Do not soak the leather through; dampening only the top half-millimeter softens the hardened grain layer without softening the cemented foundation below.
Place the leather face-up on a polished marble slab or heavy steel plate. Lay the flat edge of your bone folder along the seam line, tilted slightly against the direction of the cut. Press down firmly and draw the bone tool across the gaping hole, pushing the compressed grain fibers back into the pocket. The moistened vegetable tannins allow the leather to reform under mechanical pressure. Once the stitch is cast and pulled down, take a light round-headed saddlers hammer, place a scrap of clean calfskin over the stitch line to prevent bruising, and tap the stitch gently into the hide. As the moisture evaporates over night, the compressed edges set permanently around the thread.
Simple Bench Tests for Tension and Thread Clearance
Never begin a complex assembly without running a sacrificial mock-up of the exact seam stack on scrap trimmings from the same hide. Leather density shifts across a single hide, running firmest along the butt and softening toward the belly. Testing ensures that your awl depth stop, needle size, and thread gauge cooperate under realistic tension.
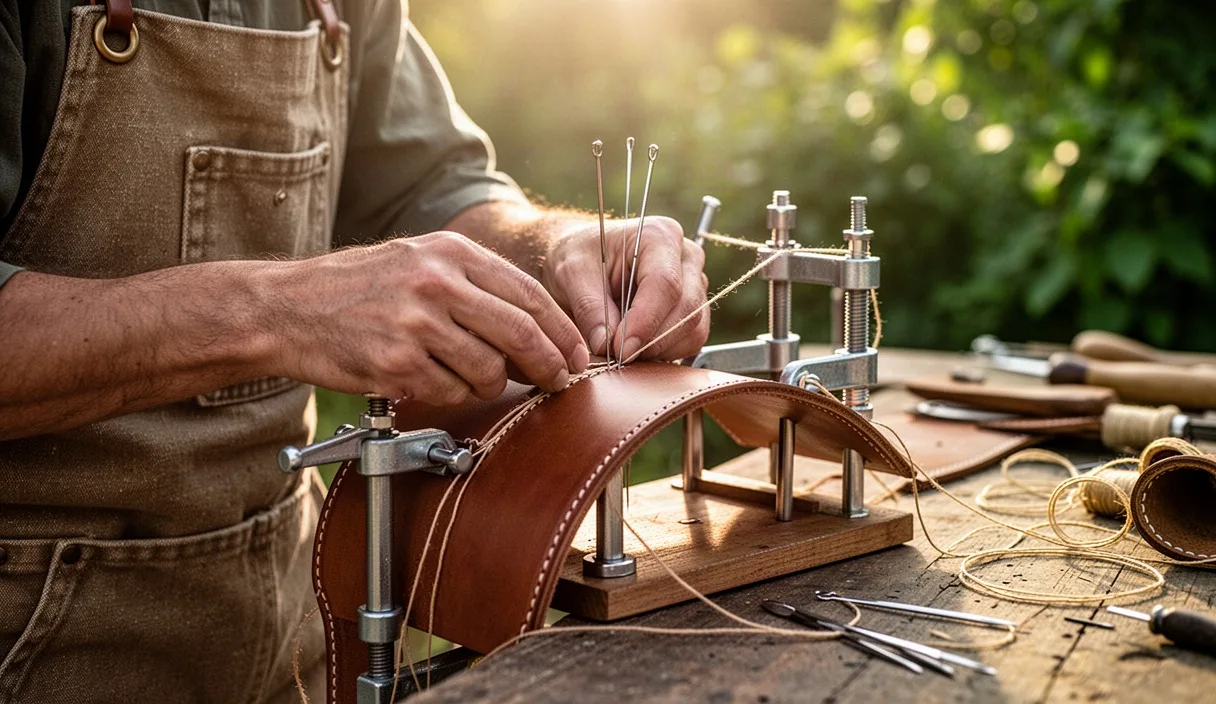
Prepare a four-inch test strip laminating the exact plies of your intended project, bonded with the same contact cement. Mark your stitch spacing with your pricking iron. Mount the strip in your stitching clams or pony, setting the jaws close to the stitch line to prevent the leather from bowing when pierced.
Carry out three direct checks during the test run:
- The Push Force Check: Drive the polished awl through the stack up to your intended depth. The blade should glide through with steady, audible crunching of fibers, requiring only palm pressure. If you must rock the tool side to side or lean your torso into the bench to punch through, the blade is either too thick for the prick mark, dull, or improperly polished.
- The First-Pass Clearance Test: Insert the first needle through the fresh hole. It should slide without catching. Draw the thread half-way through the aperture. The waxed cord must occupy roughly half the hole width, leaving clear space for the opposing needle to pass above or below it.
- The Cross-Pass Friction Test: Enter the second needle through the opposite side. The needle tip must glide past the seated thread without snagging individual strands. If you require pliers to extract the second needle, your needle eye is too large, your thread is oversized, or your awl penetration is insufficient.
- The Lock-Down Examination: Pull both threads tight with a firm, even tug outward and slightly backward. The crossover knot must seat precisely in the center of the leather lamination. Slice the test scrap open across the stitch line with a razor blade. If the thread knot sits on the face or back instead of the middle, widen the awl hole slightly or reduce the thread wax build-up.
Common Mistakes
The most frequent error in heavy hand stitching is using an awl blade as a reamer. Rocking an awl back and forth or twisting it inside the hole tears the horizontal grain structure, permanently weakening the seam and creating sloppy, loose-fitting stitches. An awl should enter cleanly and exit along the exact same plane of motion.
Another damaging mistake is loading excessive sticky beeswax onto braided synthetic thread. Modern polyester cords like Ritza Tiger thread carry an internal wax impregnation. Adding heavy layers of sticky external wax collects in the awl hole, building up a hydraulic plug that blocks needles and causes leather faces to lift away from interior welts during final tensioning.
Finally, using worn, rusted, or burred needles will undo your polishing work on the awl. A tiny burr on a harness needle eye will chew the edges of the leather slit on every pass, leaving a messy halo of shredded fiber around each stitch hole along your finished edge.
Next Steps at the Bench
Take stock of your current toolkit before starting your next heavy leather project. Begin by inspecting the working tips of your harness needles under a jeweler loupe; discard any needles with burrs, bent shafts, or rough metal inside the eye channels. Select a dedicated awl blade, mount it securely in a haft shaped comfortably for your palm, and spend forty minutes taking its facets through the abrasive and stropping stages described above.
Cut three short test pieces from your current project scrap, measure their combined thickness with your calipers, and match your thread and needle sizes using the thickness guidelines above. Run a trial run of ten stitches in your clams. If the second needle glides past the first without catching, your tools are dressed, sized, and balanced for the work ahead.