 Craftsmith Guild
Out in the valleys around Sheffield, where the stone walls of old workshops hold the autumn chill long into May, damp is not an occasional visitor. It settles into the mortar, creeps across concrete floors, and hangs in the cold air after an overnight downpour. When you run an unheated lockup or a lean-to shed, keeping iron tools clean is a continuous discipline. A sharp freeze followed by a sudden warm front can coat every cast iron sole, chisel back, and bandsaw table in a greasy sheen of condensation before the kettle has even boiled on the ring.
Cast iron and unplated carbon tool steels such as O1 and white paper steel have an open grain that greedily accepts airborne moisture. Once moisture sits on raw iron in the presence of oxygen, oxidation starts within hours, leaving an orange blush that pits the metal and ruins flattened reference faces. Protecting your kit does not require industrial climate control or expensive heating runs that drive your electric meter through the roof. It requires an understanding of how moisture moves through cold air, how wooden cabinets act as buffers, and which barrier coatings survive the friction of regular hand work.
Why Temperature Fluctuations Cause Condensation on Bare Steel
Rust in an unheated space rarely comes from leaks in the roof. More often, it falls straight out of the atmosphere because of thermal mass. Heavy iron tools, such as a five-pound bench plane or an eight-inch cast iron jointer bed, warm up much more slowly than the surrounding air. When a mild, moisture-laden breeze pushes in off the hills after a frost, the air temperature inside the shop might climb from four degrees Celsius to twelve degrees within three hours. The dense core of your cast iron tools, however, remains stuck near freezing.
The thin layer of air immediately touching the cold metal is chilled down past its dew point. Air at twelve degrees can hold far more dissolved water vapor than air at four degrees. As that warm air contacts the freezing iron surface, it cannot hold its moisture, shedding the excess water directly onto the metal as micro-droplets. This process mimics the sweat that forms on a cold milk bottle brought onto a kitchen table in July.
The problem is magnified when timber dust rests on the iron. Shavings and fine sanding dust act like miniature sponges, pulling the condensed water into direct contact with the iron grain and holding it there. If left overnight, the moisture reacts with trace acids in wood dust, particularly oak and sweet chestnut, creating black tannic stains alongside orange iron oxide. To prevent this, the temperature of the tool must either stay above the local dew point, or the bare steel must be completely sealed from moisture-laden air currents.
Comparing Microcrystalline Wax to Boiled Linseed and Paste Waxes
Liquid oils have their place on moving parts, but static flat surfaces need a firm, non-tacky film that will not lift off onto your workpiece or collect floating sawdust. Traditional boiled linseed oil support through polymerization rather than simple solvent evaporation, creating a tough, hard skin. However, linseed takes days to dry completely in a cold workshop, smells strongly, and leaves a yellowish varnish that alters the feel of polished steel. If applied too thick on plane soles, it turns gummy and drags on the wood.
Standard paste wax, typically composed of carnauba and beeswax suspended in mineral spirits or turpentine, has been the joiner's default choice for generations. It buffs out easily and provides a slick, low-friction surface for timber to slide over. Its primary drawback in damp stone shops is durability. Beeswax is relatively soft and slightly acid-sensitive, breaking down under repeated friction and high ambient humidity after three or four weeks of light use.
Microcrystalline wax, derived from petroleum refining, provides a much denser, less porous crystalline structure than natural plant waxes. Because its carbon chains are branched rather than straight, it forms an exceptionally tight barrier that blocks moisture molecules from penetrating to the iron substrate. It is chemically neutral, does not yellow with age, resists finger acids from handling, and leaves no oily transfer on dry hardwoods. For unheated workshops where tools sit dormant between weekends, it is the most dependable wipe-on barrier available.
| Wax Type | Barrier Lifespan | Residue on Timber | Drying / Buffing Time | Best Application |
|---|---|---|---|---|
| Microcrystalline Wax | Six to eight months | None after dry buffing | Ten to fifteen minutes | Long-term storage, plane soles, precision squares |
| Standard Paste Wax (Carnauba / Beeswax) | Four to six weeks | Minimal, can drag if thick | Twenty minutes | Machine beds, saw tables, everyday utility tools |
| Boiled Linseed Oil | Several months | Gummy film, transfers yellow tint | Forty-eight to seventy-two hours | Tool handles, non-precision forgings, outdoor axes |
Storing Hand Planes in Breathable Canvas and Felt Sleeves
Keeping planes open on an exposed bench shelf invites descending cold air and settling dust. Yet sealing them inside sealed plastic containers or polythene wraps is even worse. Plastic traps ambient air inside; when the shed temperature plummets at three in the morning, trapped air drops its water onto the iron, creating a miniature greenhouse effect that accelerates rot. Tool storage must breathe while deadening rapid drafts.
Heavy cotton duck canvas and wool felt make superior protective sleeves. Wool fibers naturally absorb up to thirty percent of their weight in moisture vapor without feeling damp to the touch, releasing that water slowly when temperatures climb and relative humidity falls. A tightly woven twelve-ounce cotton canvas roll blocks cold air drafts from sweeping across cold iron while allowing internal moisture to vent outward naturally.
You can improve these sleeves by treating them lightly with an oil-wax emulsion. Do not saturate the cloth until it feels greasy. Instead, rub a modest block of beeswax mixed with a few drops of light mineral oil over the outer canvas, then run a warm iron across the cloth to drive the wax deep into the weave. This creates a water-repellent shell on the exterior while preserving a dry, soft interior that shields the ground side wings and sole of a smoothing plane from physical knocks and stray droplets alike.
Using Desiccant Packs and Closed Wooden Tool Chest Drawers
A closed wooden tool chest is the most reliable defense an artisan has against damp Pennine weather. Wood is hygroscopic. A substantial chest made from yellow pine, tulipwood, or quartersawn oak absorbs moisture from inside its cavity when the room air is wet, and gives it back up when the air dries out. The air inside a tight-fitting, lidded chest or bank of solid-front drawers remains significantly more stable in both temperature and relative humidity than the open room.
To support the natural buffering of the timber, place rechargeable silica gel desiccant packs in each drawer. Porous clay or silica beads absorb water vapor until they reach equilibrium with their surroundings. For an unheated workspace, allocate roughly forty grams of dry silica gel per cubic foot of enclosed drawer space. Avoid loose packs that can burst, instead using perforated aluminum tins with color-indicating windows that shift from orange to dark green as the gel reaches saturation.
Recharging desiccants must become part of your seasonal workshop routine:
- Inspect the indicator crystals every four weeks during wet autumn and winter spells.
- When the crystals turn dark green, bake the metal tins in an oven set to one hundred and twenty degrees Celsius for three hours.
- Allow the tins to cool inside a sealed glass jam jar before placing them back into the tool drawers, preventing them from pulling dampness out of the kitchen air.
- Never set desiccant tins in direct physical contact with raw steel, as localized chemical residues on the tin casing can mark the metal.
Daily Workshop Habits Before Shutting the Bench Down for the Night
Rust prevention fails when it is treated as a deep clean done twice a year. It works when it is baked into the final ten minutes of every working day, right alongside sweeping the floor and emptying the dust extraction bin. Sweat contains salt and organic acids that etch thumbprints into clean plane bodies overnight, so every tool that touched bare hands during the day must be treated before you turn the lights off.
Keep a dedicated wipe-down rag in a clean, lidded tobacco tin near the vise. An old strip of wool blanket or dense linen tightly rolled into a canister and saturated with pure camellia oil or light pharmaceutical mineral oil works best. Camellia oil is non-drying, will not oxidize into a hardened skin, and does not contaminate timber finishes or interfere with hide glue during tomorrow's assembly.
Before closing the workshop doors, work through this sequence:
- Brush away all wood chips and shavings trapped in the throats of bench planes and spokeshaves using a stiff natural bristle chip brush.
- Wipe the metal surfaces with a clean, dry rag to lift finger grime and wood dust.
- Draw the oiled wool roll firmly along the sole, the ground sides, and the top of the iron, laying down a thin, microscopic film that breaks up light reflections without leaving puddles.
- Back off the plane iron adjusting wheel by one half turn, withdrawing the cutting edge slightly behind the sole so it does not hold dust against the mouth.
- Return the tool to its designated drawer, lidded well, or shelf sleeve, rather than leaving it sitting flat on a wooden bench top where trapped air can stagnate underneath.
Emergency Action When Surface Bloom Appears After Heavy Rains
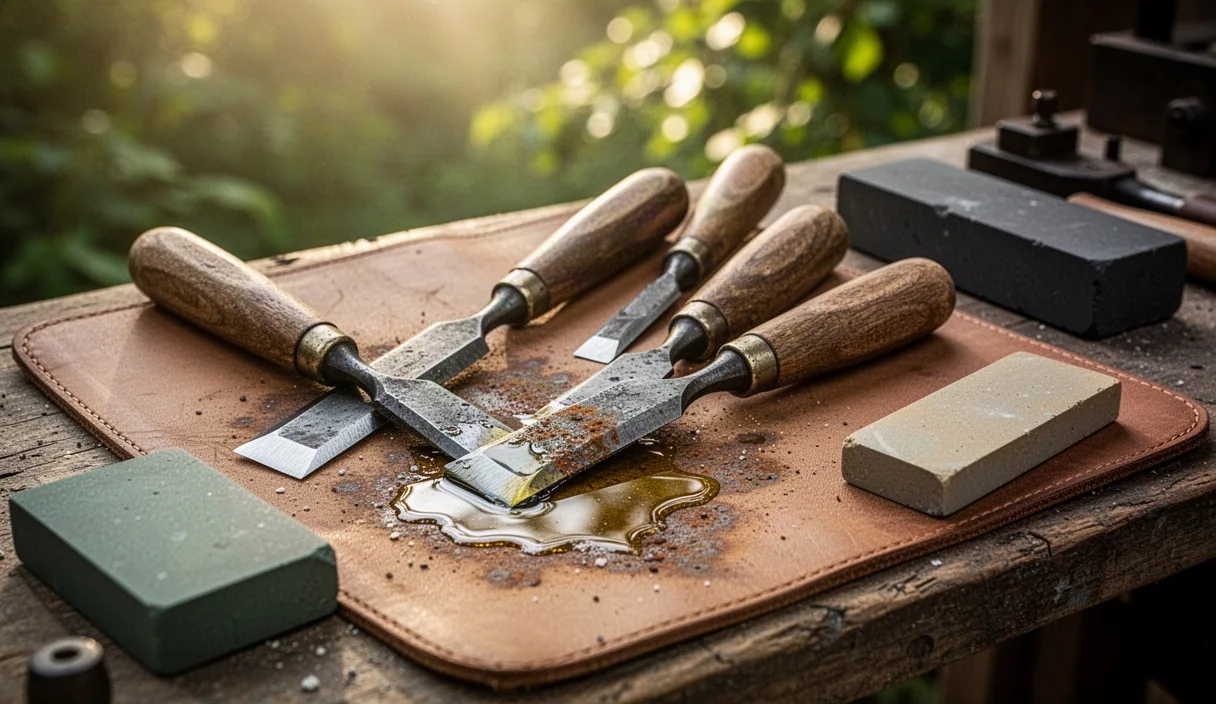
If you return to the shop after four days of torrential rain to discover a misty orange bloom across a hand plane or a set of bench chisels, panic will only cause damage. Reaching immediately for coarse emery paper or an abrasive block will destroy the fine geometric tolerances, rounded corners, and crisp arris lines of quality hand tools. The goal is to lift the oxide without removing un-oxidized parent metal.
First, spray the affected area with an odorless mineral solvent, such as low-odor white spirit or light flushing oil. The solvent acts as a floating lubricant to capture loose rust particles and prevent them from scoring the clean metal beneath. Take a wad of fine bronze wool or copper mesh, never steel wool, which sheds tiny fragments that can lodge in microscopic cast iron voids and start secondary rust spots later. Scrub the surface along the machining marks, using moderate finger pressure.
If the surface bloom has formed darker, brown-black freckles, switch to a non-woven nylon hand pad of the ultra-fine grade (light gray, equivalent to eight hundred grit abrasive). Keep the surface wet with white spirit. Work the pad flat against the metal with a firm, wooden backing block to keep your work dead flat. Wipe the slurry away regularly with clean rag strips until the cloth comes away bright.
Once the rust is cleared, degrease the part thoroughly with isopropyl alcohol to remove contaminated solvent residue. Check the surface for microscopic pits. If pitting is present on the back of a chisel or a plane sole, that section may eventually require lapping on diamond stones to restore flatness, though shallow cosmetic discoloration can safely be left alone. Finish immediately by warming the metal slightly with a heat gun held twenty inches away, drying any hidden seam moisture, then buffing a generous coat of microcrystalline wax into the iron while it is warm to the touch.
Common Mistakes in Damp Workroom Maintenance
Many well-intentioned practices actually invite rust into cold shops. Recognizing these missteps will save you hours of abrasive restoration work down the road:
- Using portable paraffin or unvented propane heaters to take the chill off the room. Burning hydrocarbon fuels generates vast volumes of water vapor, roughly one pint of water per hour of burn, creating an indoor fog that condenses immediately on freezing metal.
- Leaving tools sitting directly on bare concrete floors or pushed flat against damp perimeter stone walls, which act as cold sinks that pull heat from the tools and pool condensation.
- Treating tool soles with automotive motor oil or WD-40 for long-term storage. Automotive oils contain detergents and sulfur compounds that can stain woods like oak, while basic light penetrating sprays evaporate in a week, leaving bare metal unprotected.
- Covering cold machines and tool benches with non-breathable vinyl covers or plastic tarpaulins that lock in ambient humidity.
Practical Next Steps for the Coming Season
Prepare your workshop before the wet, cold weather establishes itself. Spend an afternoon auditing your current storage spots. Clear out any sawdust that has accumulated in tool racks and drawer bottoms, as old timber debris holds ambient dampness against iron tool bodies through the coldest months.
Order a tub of microcrystalline wax, several metal tins of indicating silica gel, and a square yard of dense wool felt. Stitch or fold dedicated sleeves for your primary bench planes, and treat all primary machine tables, saws, and chisels with a thin, buffed wax layer. Establishing a strict wipe-down habit at the bench takes only seconds each evening, but it preserves the accuracy, beauty, and working life of your kit through every freeze and thaw the season brings.