 Craftsmith Guild
When the damp November chill rolls up the valley and settles into the brickwork along Canal Street, every exposed casting in the workshop feels cold to the knuckle. Cast iron holds the cold, but carbon steel plane irons tell the real story of the season. If an iron has been ground carelessly or left dull, pushing it through a board of dry English oak or knotty Scots pine ceases to be woodwork and turns into straight physical labor. A sharp iron does not ask for muscle. It cuts because the geometry at the extreme edge is correct, flat, and polished down to a mirror scratch pattern that will part wood fibers cleanly.
Waterstones remain the quickest and most dependable medium for this work on the bench. Unlike oilstones, which cut slowly on tough modern alloy steels like A2 or PM-V11, Japanese waterstones break down quickly to reveal fresh, sharp abrasive grit. They require water, vigilance, and an established routine to keep their surfaces dead flat, but they return an edge that will take gossamer shavings off the nastiest crotch grain. Setting up your stones and handling your plane irons with deliberate method keeps your tools cutting rather than bruising the work.
Establishing the Correct Primary Grind Angle on Tool Steel
Every hand plane iron relies on two distinct bevel angles: the primary grind and the secondary honing bevel. The primary grind is established at the bench grinder or coarse stone to remove bulk metal and relieve the tool tip so that you only need to polish a fraction of a millimeter at the actual cutting edge. For standard bench planes such as a number 4 smoother or a number 5 jack plane bedded bevel-down at 45 degrees, ground tool steel demands a 25-degree primary bevel. This angle leaves enough iron behind the edge to support the cut without making the wedge too thick to seat properly on the frog.
If you run high-carbon steel, such as old Ward & Payne or vintage Stanley irons, 25 degrees holds up well across daily tasks in ash, beech, and pine. For harder, wear-resistant steels like A2, an edge ground thinner than 25 degrees will frequently chip or fracture when it meets an unexpected knot or dried glue line. Grinding is maintenance work that you should only need to perform two or three times a year on a single iron, provided you do not drop the blade onto the concrete floor.
| Steel Alloy Type | Primary Grind Angle | Secondary Honing Bevel | Recommended Working Purpose |
|---|---|---|---|
| O1 High Carbon | 25 degrees | 30 degrees | Fine smoothing, rapid sharpening, sweet cutting |
| A2 Tool Steel | 25 degrees | 32 degrees | Long edge retention, general bench work |
| PM-V11 Powder Metal | 25 degrees | 30 degrees | Tough hardwoods, interlocked grain, low chipping risk |
When grinding the primary angle on a dry white aluminum oxide wheel, dip the blade in water every two passes. If the steel turns blue or light brown at the cutting tip, the temper is drawn, meaning the metal has gone soft and will fold over during use. You must grind back past the discolored area entirely to reach fresh, hard steel before moving to the waterstones.
Setting Up a Compact Water Basin Honing Station
Water and fine joinery benches do not mix well. Water expands the beech top, rusts steel holdfasts, and turns iron filings into orange stains that soak deep into timber pores. A proper sharpening station must be completely self-contained, stable, and situated either on a dedicated side table near the shop sink or on an impervious tray that clamps securely into the face vise.
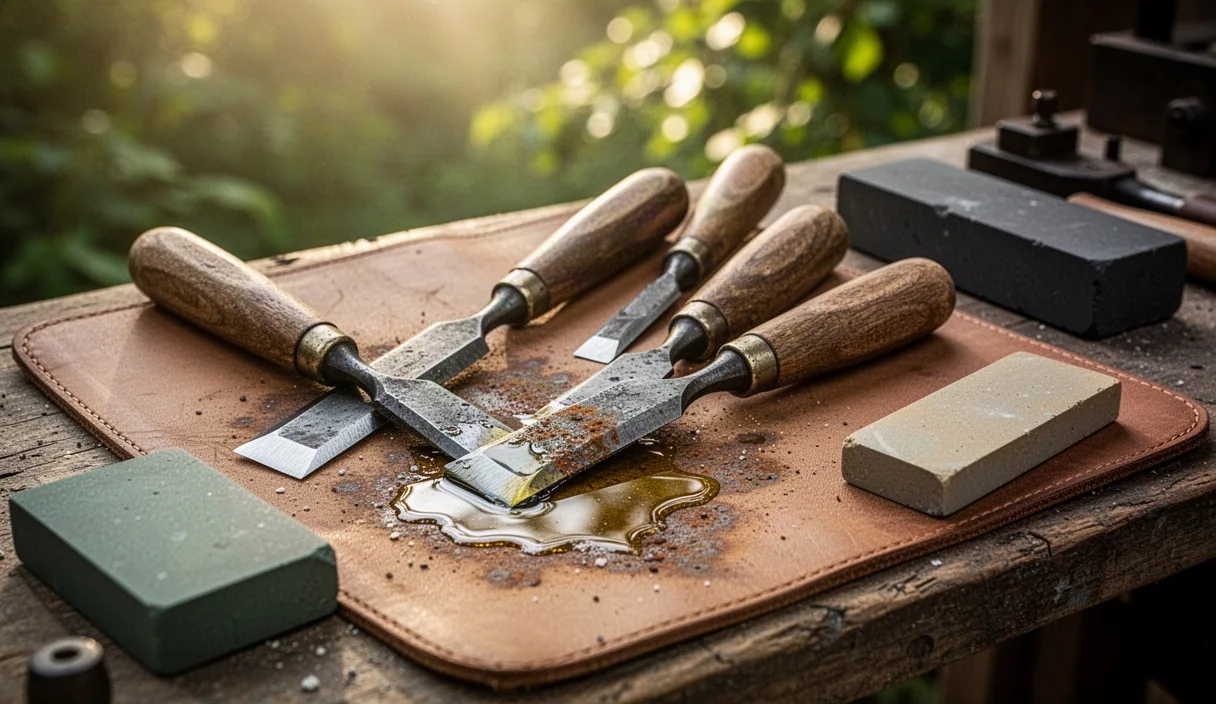
A heavy rubber mess tray or a shallow catering pan serves as an ideal base. Inside the tray, a stone holder with rubber feet and threaded stainless steel rods clamps the stone firmly above the water level, preventing the stone from rocking under downforce. Keep an atomizer spray bottle filled with clean tap water and a splash of winter window-washer fluid or a drop of plain liquid soap. This lowers the surface tension of the water, allowing the stone to wet evenly and preventing the slurry from gumming up the pores of fine grit media.
- Diamond flattening plate: A coarse 300 to 400 grit diamond plate kept permanently beside the water basin to scrub the waterstone before every single honing session.
- Medium stone: A 1000-grit synthetic stone to establish the scratch pattern and work up the initial burr.
- Fine finishing stone: An 8000-grit stone to polish both the bevel facet and the flat face of the blade.
- Wiping rag: An absorbent cotton cloth or old tea towel to dry the blade immediately between stones to avoid carrying coarse abrasive grit to the finishing stone.
Take time to flatten your 1000-grit stone before the iron ever touches it. Waterstones dish quickly in the center because most strokes concentrate there. Rub the diamond plate across the wetted stone in overlapping circular motions until the surface shows an identical, uniform matte texture from corner to corner. A hollow stone transfers its curve to the iron, ruining your control of the cut.
Introducing a Slight Camber for Smooth Surface Planing
A plane iron ground perfectly straight across will leave distinct ridges, known in the shop as plane tracks, along the edges of every pass on a board face. For smoothing operations where the surface must be left pristine and ready for a coat of shellac or boiled linseed oil, the iron requires a microscopic camber: an arched cutting edge that dips at the far corners while retaining a flat cutting section in the middle.
For a number 4 smoothing plane, this camber should be tiny, roughly 0.001 to 0.002 inches across the entire width of a two-inch iron. You do not grind this curve on a bench grinder; you hone it directly into the steel on your 1000-grit waterstone by varying your finger pressure as you push the blade through its secondary bevel strokes.
- Set the blade in a reliable honing guide or hold it firmly by hand, registering the secondary angle at roughly 30 degrees.
- Apply even downward pressure with two fingers centered over the middle of the blade and make eight firm strokes back and forth.
- Shift your index finger directly over the left corner of the blade. Keep your right hand relaxed, guiding only, and make four firm strokes.
- Shift your left hand away and place your right index finger over the right corner of the blade, applying the same downforce for four strokes.
- Finish with two light passes across the center to blend the transitions between the corners and the middle of the iron.
This subtle crown keeps the sharp corners lifted safely inside the mouth of the plane sole. When taking a shaving no thicker than tissue paper, the plane cuts cleanly in the center and feathers out to nothing at the margins, leaving a dead-smooth surface that requires neither scraping nor sandpaper.
Polishing the Tip with Eight Thousand Grit Waterstones
Once the shape is set and an even wire burr has been raised along the entire cutting edge on the 1000-grit stone, rinse the blade and your hands thoroughly. Stray 1000-grit particles carried over to the finishing stone will gouge deep scratches into the secondary bevel, undoing the work of the high-grit abrasive.
An 8000-grit waterstone produces an edge that acts like a surgical scalpel. This stone is hard, dense, and feels almost like polished slate under the iron. It does not cut steel quickly; rather, it removes the microscopic grooves left by previous abrasives until the two planes of steel that form the cutting point meet at an apex mere fractions of a micron thick. Spray the surface of the stone lightly so a thin film of water sits across the face.
Register the secondary bevel on the stone. If working freehand, find the primary bevel, raise the back of the iron roughly five degrees until you feel the facet settle on the stone, and take fifteen controlled pull strokes. Do not rock back and forth, as rocking produces a rounded bevel that cuts poorly and dulls rapidly. Maintain steady, downward pressure right onto the cutting tip. Wipe the stone periodically with your thumb to clear off the black swarf, which consists of microscopic steel particles suspended in water.
Next, lay the back of the plane iron dead flat on the 8000-grit stone. The back of the iron is just as critical as the bevel; the cutting edge is nothing more than the intersection of these two surfaces. If the back is scratched or rough, the cutting edge will remain jagged no matter how bright the bevel shines. Hold the blade flat with four fingers spread across the steel to prevent tipping, and pull the blade straight back along the length of the stone eight to ten times.
Removing the Slender Wire Burr on Clean Horsehide
Honing steel against an abrasive stone invariably folds a minute ribbon of tired, fractured metal over the back edge. This thin fin is the wire burr. It can deceive you into thinking an edge is sharp because it will catch on your fingernail, but the moment you drive the blade into hard maple or ash, the burr bends, snaps off, and leaves a blunt, jagged gap along the edge.
While the back-and-forth work on an 8000-grit stone weakens and thins the wire edge considerably, final removal is best done on clean, vegetable-tanned horsehide leather mounted flat on a hardwood scrap. Horsehide has a tighter grain structure than cowhide, making it firm and resistant to rounding the delicate cutting apex. Avoid thick, spongy leather that wraps around the tool edge under pressure.
Some craftsmen like to load their leather with chromium oxide paste, but an uncharged, bare strip of clean horsehide produces an edge that cuts cleanly without rounding. Lay the back of the blade dead flat on the leather and pull it backward with light, steady pressure three times. Flip the iron to the bevel, match the honing angle, and draw it backward three times. Keep the stroke strictly trailing; pushing the edge forward into leather will dig the iron in and ruin both the strop and the edge.
Inspect the edge under a strong raking task light. If you see any glint of light reflecting off the cutting line, the edge is not finished. Light only reflects off a flat or rounded spot; a true edge is too thin to reflect visible light and will appear as an absolute, dead black line between the polished bevel and the flat back.
Testing Edge Readiness on End Grain Pine Offcuts
Shaving arm hair or slicing through copy paper are parlor tricks. Arm hair is soft, and paper contains clay fillers that prematurely dull a freshly honed tool. The truest workshop test of an iron sits right in the kindling box beside the woodstove: a clean scrap of softwood, preferably slow-grown Scots pine or white pine, cut across the end grain.
End grain exposes thousands of hollow, vertical wood cells bundled together like drinking straws. A dull or poorly honed iron will simply crush and bend these fibers over, leaving a rough, dusty surface marked by torn cellular walls. A razor-sharp iron will shear through the end grain with an audible whisper, leaving a surface as smooth and glossy as buffed plastic.
Take the bare plane iron in your hands, holding it by the sides with your thumbs supporting the back. Rest the bevel against the end grain offcut at an angle of roughly 45 degrees to skew the cut. Push the iron through the wood using only finger and wrist pressure. Observe the following characteristics:
- Shaving quality: The wood should come away as a continuous, curled ribbon that holds together without disintegrating into meal or flakes.
- Surface texture: Run your thumb over the severed end grain. It should feel glass-smooth, with no fuzzy patches in the soft springwood growth rings.
- Cut resistance: The steel should slide through the timber with minimal resistance. If the iron requires you to drop your shoulder weight behind it, the secondary bevel is either rounded over or the wire burr was never fully cleared.
If the cut produces tracks or scratches across the end grain, look closely at the tip of the iron through a small ten-power hand loupe. A speck of grit from a dirty rag or an unflattened waterstone likely chipped the micro-edge, meaning you must return to the 8000-grit stone for another ten passes to clear the defect.
Common Mistakes in Waterstone Sharpening
Sharpening errors waste valuable tool steel and consume working hours that should be spent fitting joints. Paying attention to basic workshop discipline prevents the most frequent stumbling blocks encountered at the stones.
- Failing to flatten waterstones regularly: Honing on a dished stone rounds the secondary bevel and makes it impossible to achieve a straight, uniform camber. The stone must be touched with a diamond plate before every session.
- Rocking the blade during freehand honing: Allowing the wrist to drop or rise during the stroke creates a convex, rounded bevel that acts as a skid, preventing the cutting edge from engaging the wood fibers.
- Excessive pressure on fine grit stones: Bearing down heavily on an 8000-grit stone does not speed up the polish; it gouges the soft stone substrate and warps the delicate wire edge back and forth without severing it.
- Skipping the back of the iron: Spending twenty minutes polishing the bevel while neglecting the flat back will guarantee a plane that tears wood grain rather than cutting it.
- Cross-contamination of grit: Handling a coarse stone and then picking up an 8000-grit stone without washing your hands transfers large abrasive grains, ruining the finishing polish.
Practical Steps to Refine Your Sharpening Habit
Sharpening is not an isolated craft; it is the preliminary movement of every planing operation. To keep your work moving steadily through the winter months without getting bogged down by dull tools, integrate sharpening directly into your workflow rather than treating it as a chore saved for the end of the week.
Begin your next session in the shop by inspecting your main smoothing plane iron under a bright light. If the edge reflects light or feels rough when dragged gently along an end-grain block, clear a corner of your bench, fill your water spray bottle, and dress your stones with the diamond plate. Work methodically through the progression: establish the flat back, hone the secondary angle with its gentle camber on the medium stone, polish both surfaces on the finishing waterstone, and draw the wire burr off on your clean horsehide strop.
Once you develop the muscle memory to complete this sequence in under five minutes, you will find yourself returning to the stones the moment a plane begins to push hard or leaves the slightest blemish on your timber. A craftsman who works with truly sharp edges works with less effort, leaves behind surfaces that require no sanding, and lets the tool do precisely what it was designed to do.