 Craftsmith Guild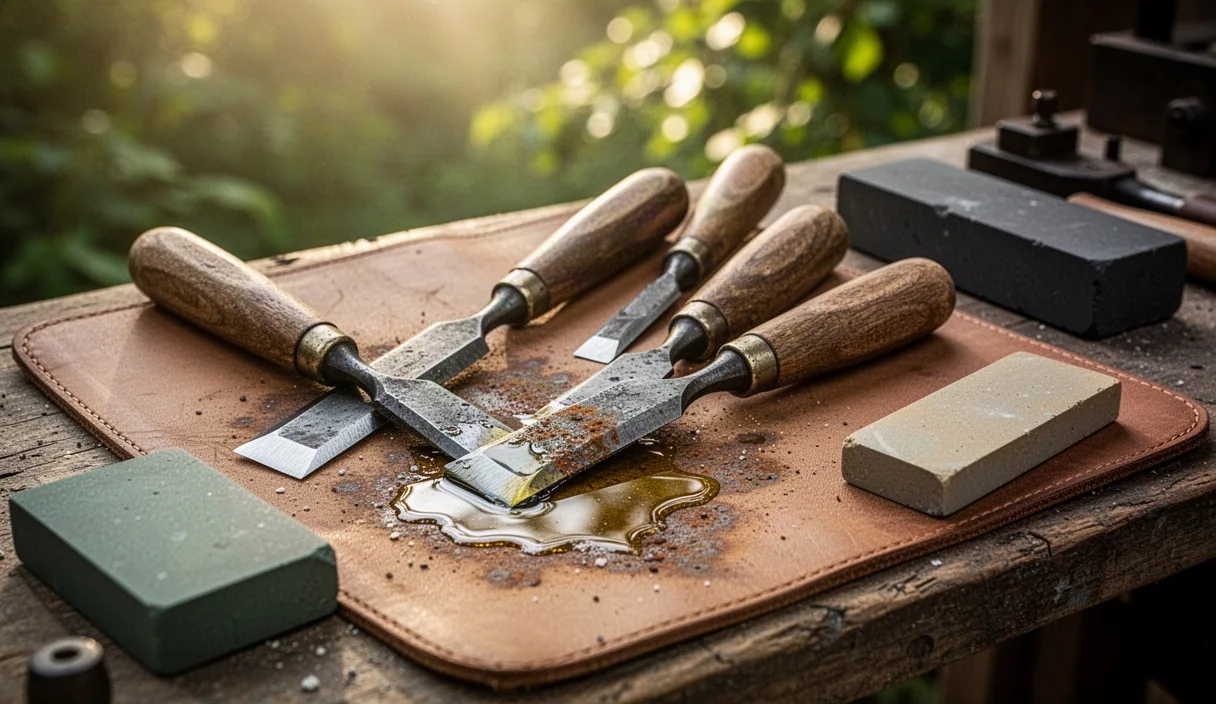
Walk down through Kelham Island on a wet November morning and you can still smell the wet stone and furnace coal hanging in the low brick chimneys. In the back rooms of Sheffield workshops and across market stalls along the Shambles in York, you often find old cast steel chisels lying in tea chests: brown with rust, nicked along the cutting edge, their boxwood handles split from years of being struck with an iron hammer instead of a proper beech mallet. These old blades, stamped with names like Ward & Payne, I. Sorby, or Marples, carry steel of a quality rarely found in modern catalog tools. The carbon content runs high, often around 1.1 percent, forged with care and tempered to take an edge that slices end-grain pine like cold butter.
Bringing one of these neglected chisels back into service does not demand expensive power equipment or harsh chemical dips that strip away history and turn old steel a sickly matte gray. It takes an afternoon on a solid bench, a few honest abrasives, and the patience to work through the grits by hand. When the work is done properly, you gain an edge tool balanced for paring dovetails and chopping mortises that will outlast another three generations of damp northern winters.
Evaluating Pitting Depth on Vintage Edge Tools
Before you part with any coins or spend an hour rubbing abrasive sheets, clean off the loose grime with an oily rag and take a hard look at the steel. Surface rust is harmless: it wipes away or scrubs out. The danger is rust pitting, where moisture has eaten deep into the matrix of the carbon steel. If pitting occurs on the top face or near the neck, it looks rough but causes no structural problem. The only area that demands absolute perfection is the flat back of the chisel, specifically the first 25 millimeters back from the cutting edge.
To evaluate the depth of the pitting, use the sharp corner of a fresh single-edge razor blade or the tip of a sewing needle. Drag the point lightly across the pitted area toward the cutting lip. If the point catches and stops in a crater within that first 25-millimeter zone, you must assess whether grinding past it will shorten the tool beyond usefulness. A pit deeper than 0.8 millimeters right at the cutting interface means you will spend days lapping steel, or you will have to cut the blade back past the damage on a wet bench stone.
| Pitting Depth | Location on Blade | Structural Risk | Recommended Action |
|---|---|---|---|
| Under 0.2 mm | Back mirror, within 25 mm of edge | Negligible | Lap out by hand on coarse oilstone or silicon carbide paper. |
| 0.3 mm to 0.7 mm | Back mirror, within 25 mm of edge | Moderate | Grind the cutting edge back past the pitting before sharpening. |
| Over 0.8 mm | Neck or tang shoulder | High | Do not use for heavy mortising; reserve for light paring only. |
| Any depth | Bevel face or top surface | Low | Wire brush clean; leave pitting as protective patina. |
Check the neck and bolster as well. Hold the tool up to a raking light and examine the transition where the blade narrows into the tang. hairline cracks often form here if a previous owner drove the tool with an iron sledge. If you spot a crack running across the tang root, retire the tool or take it to an experienced blacksmith who can forge-weld or re-temper it. Grinding a cracked neck at home creates a tool that can snap in your palm under heavy malleting.
Chemical Free Rust Removal Using Mineral Spirits
Soaking vintage cast steel in vinegar, citric acid, or commercial rust converters is a quick route to ruining good tools. Acid leaches carbon from the surface of the steel, leaving an etched, porous skin that rusts twice as fast the following winter. It also strips the dark, natural forge scale from the unground hollows. For clean preservation, mechanical scraping backed by a solvent like pure mineral spirits or odorless kerosene remains the standard method across traditional joinery shops.
Clamp the chisel firmly to the bench between two scrap blocks of soft pine, keeping the flat back facing upward. Pour a teaspoon of mineral spirits across the blade to float away loose grit and keep dust from rising into your lungs. Take a piece of brass sheet or an unhardened copper plumbing pipe beaten flat with a hammer, and use its square edge as a scraper. Brass and copper are harder than rust flakes but softer than hardened carbon steel, so they scrape away heavy oxidation without leaving a single scratch on the original ground surface.
- Apply mineral spirits liberally across the rusted surface using a horsehair brush.
- Push the flattened copper scraper firmly along the tool, working strictly with the grain of the steel.
- Wipe away the black slurry every few minutes with a dry cotton rag to monitor progress.
- Switch to a coarse grade 00 steel wool pad saturated with mineral spirits to lift residual grime from maker marks and stamps.
- Dry the steel completely with clean cotton rags before taking the blade to any sharpening stones.
Working this way keeps the crisply stamped letters of the maker mark intact. Acid baths soften those stamps and turn them muddy, destroying the history of the chisel. The copper scraper leaves the steel with an honest gunmetal gray tone, clean of flaky oxides and ready for precision flattening on the bench stones.
Flattening the Back Mirror Without Machine Grinders
The back of a hand chisel must be flat because the cutting edge is created by the intersection of two planes: the primary bevel and the back mirror. If the back is convex, the chisel will dive into the wood during paring; if it is concave along the edge, you will never achieve a sharp apex. Never take the back of a vintage chisel to an electric dry grinder or a belt sander. High-speed abrasives heat the thin steel at the tip within two seconds, drawing the temper and leaving you with soft iron that will not hold an edge.
Instead, use the "scary sharp" method with wet-and-dry silicon carbide abrasive sheets stuck down to a dead-flat reference plate. A thick piece of float glass, at least 10 millimeters thick, or a polished granite inspection block serves as your foundation. Spray the glass with a light mist of water mixed with a drop of washing-up liquid, then roll out your abrasive sheet, starting with 240 grit for a pitted tool, or 400 grit for an intact blade.
Place the chisel back down on the abrasive paper. Keep your fingers spread evenly over the front 50 millimeters of the blade, applying firm, balanced downward pressure. Work the chisel straight back and forth along the length of the paper. Avoid circular motions, which tend to rock the blade and round off the long edges. Pull the tool toward you for the cutting stroke, using lighter pressure on the push return.
Check your progress every twenty strokes. Wipe the back dry and look at the scratch pattern. You do not need to flatten the entire length of the chisel back; doing so wastes steel and hours of labor. Focus strictly on achieving a uniform, dead-flat scratch pattern across the full width of the blade for the first 20 to 30 millimeters behind the cutting edge. Once the 240-grit scratch pattern extends uniformly across this zone, step through 400, 800, and 1200 grits, wiping the blade carefully between sheets to avoid carrying coarse abrasive grains forward.
Grinding the Primary Bevel on Coarse Oilstones
With the back mirror established, turn your attention to the primary bevel. Most English and Continental bench chisels were designed to run with a primary bevel between 25 and 30 degrees. A 25-degree bevel slices softwood and paring cuts with low resistance, while a 30-degree bevel provides beef behind the edge for chopping hardwoods like white oak or seasoned ash. If you intend to use the tool for general cabinetwork, establish the primary bevel at 25 degrees, and leave the micro-bevel to handle the extra angle later.
For hand reshaping, a coarse synthetic oilstone made of silicon carbide or aluminum oxide works faster and stays flatter than a natural Arkansas stone. Soak the stone with light honing oil or a blend of mineral oil and kerosene. If the cutting edge is out of square, stand the chisel upright on the stone at 90 degrees and stroke it back and forth until you have ground away all old nicks and established a square front line across the width.
Reset the tool onto its bevel. If you are honing freehand, place the factory bevel flat against the stone, tip forward until you feel the facet register solidly against the grit, lock your wrists, and drive the stroke using your legs and torso. If you prefer absolute precision, mount the blade into a cast-iron honing guide. Set the projection length carefully using a wooden setting block: for most standard guides, a 40-millimeter blade projection gives an accurate 25-degree angle.
Work the blade across the coarse stone until you raise a continuous, distinct burr along the entire width of the flat back. Do not move to a finer stone until your fingertip can clearly feel that rolled metal wire from corner to corner. Once the burr is formed, polish the primary bevel on a medium stone, flip the chisel back flat onto your finest finishing stone, and take three light pull strokes to sweep the burr away completely.
Turning Replacement Ash Handles on a Wood Lathe
Most chisels pulled from yard sales or tool chests have cracked or butchered handles. Ash is the premier timber for replacement chisel handles in cold, damp climates: it possesses long, straight fibers that absorb mallet shocks without splitting, unlike beech which can be brittle when dry, or oak which contains tannic acid that corrodes steel tangs. Select a piece of straight-grained, kiln-dried ash square stock, roughly 40 by 40 millimeters and 180 millimeters long.
Mount the stock between centers on the wood lathe. Using a roughing gouge running at roughly 1200 revolutions per minute, turn the blank down to a clean cylinder with a diameter of 34 millimeters. Mark your critical reference points along the length with a pencil: the ferrule seat at the front, the swelling grip at the waist, and the rounded striking dome at the butt.
- Turn the ferrule tenon down to match the inside diameter of a heavy-walled brass or copper pipe section. Aim for an interference fit: the brass should press on tightly with gentle taps from a wooden mallet.
- Slide the ferrule onto the tenon, then turn the main body of the handle, tapering out from the ferrule to a maximum diameter of 30 millimeters before tapering back to 26 millimeters near the butt.
- Cut a clean, shallow cove just behind the ferrule to allow your fingers to register the tool orientation by touch alone.
- Sand the turned handle through 150, 240, and 320 grits while spinning at 800 revolutions per minute, then apply a friction coat of boiled linseed oil directly on the lathe.
- Part the handle off the lathe, leaving a clean, rounded dome on the striking end.
Fitting the tang requires care. Drill a pilot hole into the ferrule end of the handle using a bit sized to the thickness of the narrow tang tip. For a stepped tang, use two drill sizes to roughly match the taper. Heat the tang of the chisel gently with a propane torch until it turns a faint straw-brown; never let it glow red, which would ruin the temper at the blade neck. Press the hot tang into the pilot hole: it will burn away tight spots in the wood fibers, seating itself permanently straight and solid without splitting the timber.
Applying Protective Camellia Oil for Winter Storage
Carbon steel has an open grain that grabs moisture from the air, especially in unheated outbuildings and workshops where evening drops in temperature cause water vapor to condense on cold iron. Many woodworkers reach for 3-in-One oil or motor oil, but petroleum products leave sticky residues, attract sawdust like a magnet, and can permanently stain fine furniture timbers like sycamore, walnut, or cherry during use.
Pure camellia oil, pressed from the seeds of Camellia oleifera, is an acid-free, non-drying vegetable oil that has protected edged tools in Japan and Europe for centuries. It does not go rancid like olive or vegetable cooking oils, and it will not discolor timber even if wet shavings come into direct contact with the blade. It creates a thin, stable barrier that sheds moisture without feeling gummy under the hand.
Build an oiling applicator from a piece of close-grained wool felt rolled tightly inside a short length of 25-millimeter copper tube, or use an old cotton handkerchief rolled tight and tied with whipping twine. Saturate the exposed end of the cloth with camellia oil. After every sharpening session, and at the close of every working day, give the entire steel blade a single, light wipe from bolster to tip. A proper coat should look like a faint sheen, not a wet pool. Store the chisels flat in a canvas tool roll or in a slotted wooden rack lined with dry felt rather than in leather sheaths, as leather contains residual tanning acids that actively pull moisture toward tool steel.
Common Restoration Mistakes
Rushing through chisel restoration inevitably damages both the temper and the geometry of the tool. Avoid these frequent workshop missteps:
- Overheating on electric grinding wheels: Grinding dry steel without a water bath draws the temper instantly, turning the cutting edge blue and leaving the steel soft.
- Using muriatic or aggressive household acids: Harsh chemical soaks cause hydrogen embrittlement in high-carbon steel, making the cutting lip chip away under light malleting.
- Rounding the back of the blade: Lifting the chisel handle while working on flat stones rounds the back face, requiring hours of aggressive grinding to correct.
- Fitting handles without a bolster washer: Forgetting to place a thick leather washer between the wooden handle shoulder and the steel bolster leads to split handles under heavy mallet blows.
Practical Next Steps
To begin restoring your vintage edge tools, gather your basic supplies before touching the steel. Secure a piece of 10-millimeter float glass or a flat granite offcut from a local monumental mason, several sheets of 240 to 1200 grit wet-and-dry abrasive paper, a bottle of mineral spirits, and a clean brass scraper. Inspect your chisel blades carefully under bright light, mark any deep pitting with an ink pen, and set aside any cracked tools that require forge repair.
Start with a single, medium-width chisel, such as a 12-millimeter or 18-millimeter tool, which is easy to hold flat on the stones and provides quick feedback on your technique. Once you have established a dead-flat back mirror and ground a clean, square 25-degree bevel, mount a sturdy ash handle and oil the blade thoroughly. Testing your restored tool on a piece of scrap pine end-grain will confirm whether your bevel geometry and polishing routine are dialed in for honest woodwork.