 Craftsmith Guild
A damp basement beneath an old brick terrace house is rarely the first choice for a joinery shop, but it is often the only space going. Down here, past the gas meter and the stone steps where the coal used to tumble, the ceiling stays low and the air holds the smell of damp earth after heavy autumn rain. Yet hundreds of woodworkers across wet northern towns have squared their shoulders, cleared the junk out of the cellar, and built solid, true work on an eight-foot footprint. The secret does not lie in cast-iron machine suites or polished European beech benches that cost a month's wages. It lies in building a stout, immovable frame designed specifically for the quirks of subterranean masonry.
Working below grade requires an honest appraisal of temperature swings, seasonal damp, and floors that have settled out of level over a century. A bench that rocks by three millimetres when you push a jack plane across a board will ruin your joints and waste your energy. By treating the basement floor and walls as dynamic masonry rather than dry living rooms, you can build a stable, dead-flat joinery station from ordinary construction lumber that will stay flat through both damp November chills and humid July spells.
Managing Seasonal Moisture Beneath Brick Foundations
Victorian and Edwardian cellar walls were never designed to be water-tight; they were built to breathe, drawing groundwater up from damp footings and letting it evaporate into draughty undercrofts. When you install an enclosed workbench tight against these surfaces, you trap that moisture behind end grain and framing joints. Relative humidity in an unheated cellar can climb past 82 percent in midwinter, which swells unsealed softwood tops and rusts hand planes left out overnight. If standing water or running trickles appear during heavy downpours, no joinery work should begin until a qualified drainage contractor or structural surveyor assesses the foundation walls.
Keep a clear air gap between the brickwork and the back edge of your bench. An offset of 75 millimetres (three inches) prevents cold wall condensation from transferring directly onto your timber. For basements with lime-washed rubble walls or crumbling mortar, hang a sacrificial sheet of corrugated plastic or treated plywood on batten strips behind the bench. This guides ambient condensation down to the perimeter drainage channel rather than into the back of your tool rack.
Air movement is your best defense against mold blooms on beech plane totes and softwood legs. A small 15-watt axial fan running continuously on an opposite wall will circulate air across the floorplates without blowing dust into your eyes. Place a digital hygrometer at bench height. If winter readings consistently pass 70 percent, run a compact compressor-driven dehumidifier set to drain continuously via a clear vinyl hose into the cellar sump or waste standpipe, avoiding the need to empty buckets up the narrow stairs.
Selecting Economical Construction Timber for Tops
Kiln-dried hardwood worktops made from hard maple or European beech are exceptionally durable, but they cost an immense amount and take months to settle in a damp cellar. Structural framing timber, typically C24 or standard construction-grade European redwood (Scots pine) and whitewood (spruce), is widely available from local timber merchants. Standard two-by-four (38 by 89 millimetre) or two-by-six (38 by 140 millimetre) studs provide more than enough mass when laminated on edge, provided you choose your boards carefully from the yard stacks.
Look for boards that show tight, straight growth rings on the end grain, ideally quarter-sawn or rift-sawn orientation rather than wide, arching flat-sawn arcs. Flat-sawn timbers will cup and curl violently across their face as cellar humidity changes between January and August. Reject any stock carrying heavy resin pockets, bark edges, or significant twist. Once you get the timber down the cellar steps, sticker the boards with 20-millimetre scrap battens between each layer and let them acclimate to your basement air for at least three full weeks before jointing.
| Timber Option | Average Moisture Out of Yard | Movement in Cellar | Relative Cost per Metre |
|---|---|---|---|
| CLS / Studwork Spruce | 16 to 20 percent | Moderate to High | Low |
| C24 Structural Pine | 14 to 18 percent | Moderate | Low to Medium |
| Laminated Beech Scantling | 10 to 12 percent | Low (once stable) | High |
When laminating the top, rip off the rounded factory edges on a table saw or plane them off by hand. Glue up the slab in smaller modules of three or four boards first, using an interior polyurethane glue (D4 rated) or standard cross-linking PVA. Polyurethane adhesive support through ambient moisture, making it particularly effective in cool basements where traditional water-based white glues can take days to dry. Once the sub-slabs are cured, plane their mating faces and complete the final glue-up with heavy sash clamps spaced every 300 millimetres.
Laying Out Leg Frames for Maximum Rigidity
A joinery bench must resist two distinct forces: the downward blow of a mortise mallet and the lateral thrust of a heavily set jointer plane. Lightweight splayed legs might work for a portable site bench, but a basement bench needs square, stout timber. Build the legs from paired two-by-four stock glued face-to-face to form square 76 by 89 millimetre posts, or use solid four-by-four structural posts if the merchant has them dry. Position the front legs flush with the front edge of the bench top so that long boards clamped in the vise can bear against the leg without bowing.
Traditional drawbored mortise and tenon joints provide lifelong rigidity without relying on expensive hardware. Cut your mortises 25 millimetres wide and 75 millimetres deep into the posts, keeping the lower stretchers at least 150 millimetres clear of the masonry floor to dodge damp pooling. Drill the pin holes through the mortise walls, offset the matching hole in the tenon toward the shoulder by two millimetres, and drive a dry oak peg through the assembly. The offset pulls the shoulder tight against the leg post with tremendous mechanical force, staying tight even if seasonal shifts loosen the glue bond.
- Mark the shoulder lines: Score the tenon shoulders with a striking knife rather than a pencil to ensure crisp edges that seat cleanly against the leg face.
- Rout or chop the mortises: Remove the bulk of the waste with an 18-millimetre auger bit in a brace, then square the corners with a stout registered mortise chisel.
- Bore the drawbore holes: Drill a 10-millimetre hole through the assembled mortise cheeks, insert the tenon to mark the center, remove it, and shift the mark two millimetres closer to the tenon shoulder before boring.
- Drive split oak pegs: Taper the first 10 millimetres of an oak peg, coat it with glue, and drive it home through the joint with a brass mallet until the shoulder snaps shut against the upright.
Mounting Front Vises Without Complex Hardware
Elaborate quick-release iron vises are heavy to carry downstairs and can seize up when condensation hits their internal guide cams. A traditional leg vise provides exceptional clamping force, deep throat capacity, and simple construction using a single threaded bench screw. You can use a common rolled-thread steel vise screw assembly (typically 28 millimetres in diameter) or repurpose an old cast-iron press screw sourced from an industrial clearance sale.
The chop of the leg vise should be fashioned from a stout piece of dry hardwood, such as 45-millimetre ash or sycamore, roughly 200 millimetres wide and tapering slightly toward the bottom. Mount the screw roughly 220 millimetres below the bench surface to allow plenty of clearance for edge-planing wide panels. At the foot of the chop, install a wooden parallel guide drilled with two staggered rows of 12-millimetre holes, through which a hardwood pin is inserted to prevent racking when clamping workpieces at the top.
Line the inner jaws of the vise with thick vegetable-tanned leather, rough-side out, adhered with contact adhesive. Leather compresses slightly under clamping pressure, gripping workpieces tenaciously without requiring brute force on the vise handle. This grip prevents delicate finished parts from slipping and stops denting on soft pine rails during hand-cut dovetail operations.
Levelling the Base on Uneven Masonry Floors
Basement slabs poured over old cobbles or directly onto dirt rarely present a flat plane. A dip of 15 millimetres across a four-foot span is common where old washhouse flags or patched screed slope toward floor gullies. Setting a four-legged bench onto this surface without adjustment produces an annoying rock that robs power from every chisel strike and twists the top over time.
Do not rely on adjustable metal furniture feet with thin threaded stems, as the impact of heavy chopping will eventually bend the threads or split the bottom of your wooden legs. Instead, establish a level reference line across your workspace using a chalk line and a long spirit level. Set the bench frame into its final position, shim under the lowest corners with dry slate or exterior plywood scraps until the upper stretchers read dead level in both directions, and scribe the irregularities of the floor directly onto the bottom of each leg using a compass or a scrap wood block.
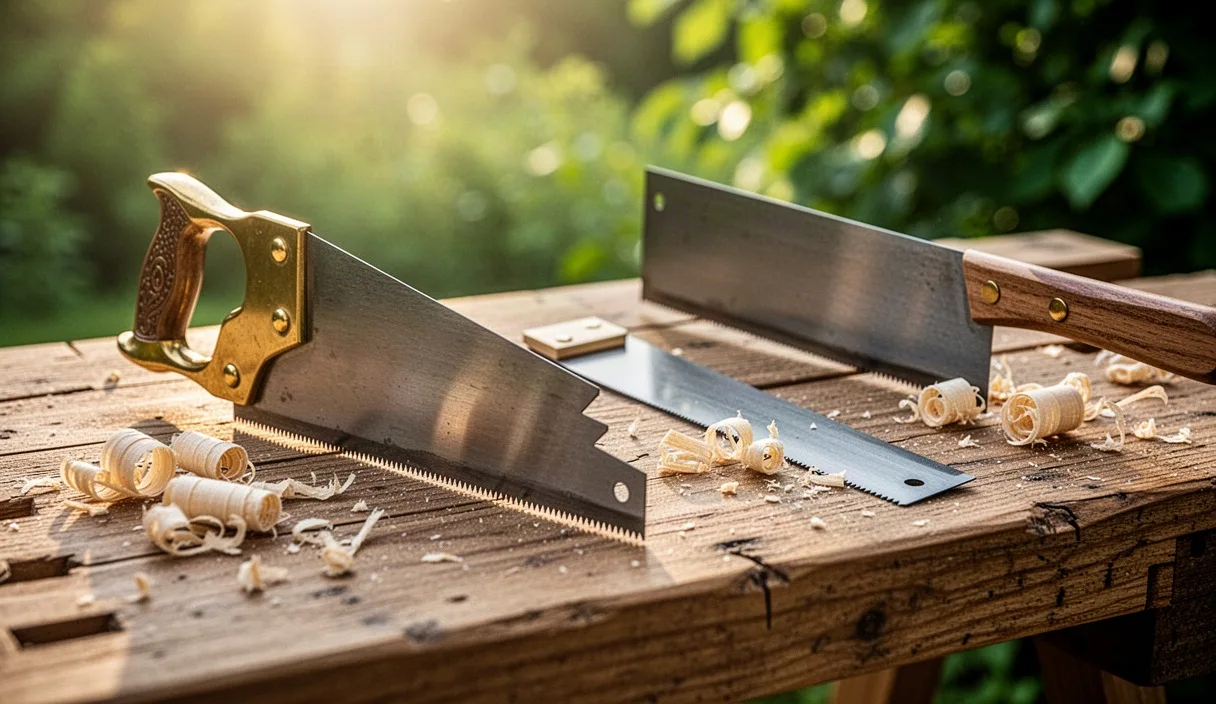
Cut the scribed waste off the bottoms of the posts with a fine-toothed hand saw for a direct timber-to-stone match, or install permanent leveling pucks. An effective leveling arrangement uses 18-millimetre marine plywood pads cut 25 millimetres wider than the leg base, bored to take an M12 coach screw running upward into a recessed nut within the leg core. Place a square of heavy damp-proof membrane (DPC) between the masonry floor and every wood surface to prevent ground moisture from climbing directly into the end grain through capillary action.
Final Oiling to Resist Winter Condensation
Polyurethane varnish and modern lacquer finishes form an impermeable plastic film over the wood. In a cold cellar, this film traps sub-surface moisture whenever the dew point shifts, turning milky, lifting in sheets, and leaving bare patches where raw timber is exposed to damp air. Traditional penetrative oil finishes preserve the natural feel of the timber while allowing moisture vapor to move in and out of the fibers without peeling.
Boiled linseed oil thinned with equal parts pure gum turpentine makes an ideal basement bench finish. The turpentine pulls the drying oil deep into the porous softwood fibers, carrying natural resins inward where they polymerize into a tough, water-repellent matrix. Avoid white spirit or synthetic thinners in confined cellars, as their fumes linger dangerously in poorly ventilated corners; even with natural turpentine, keep the cellar door cracked open and your small circulation fan running during application.
Apply three coats over three days, flooding the surface generously and scrubbing the oil in with a coarse abrasive pad along the grain. Pay special attention to the end-grain edges of the bench top and the bottoms of the leg frames, which absorb three times more liquid than face-grain boards. Allow the oil to soak for 30 minutes, then vigorously wipe every drop of excess surface oil away using dry cotton rags. Dispose of all used rags immediately by soaking them in a water-filled metal bucket outdoors, as drying linseed oil generates heat and can ignite spontaneously if left crumpled in a cellar waste bin.
Common Mistakes to Avoid
The most frequent errors in basement workshop setups stem from treating the room as if it were a dry, upstairs spare bedroom. Avoid these proven traps:
- Bolting the frame directly to masonry walls: Moisture will migrate through the anchors directly into the timber frame, and foundation shifts can twist the bench out of flat.
- Using fast-drying wood fillers on the top: Plastic-based fillers expand at different rates than the surrounding lumber, popping out during wet months and leaving gaps that catch chisel tips.
- Leaving bare steel directly on the wood top: Condensation settling between a steel plane sole and an oiled wood top will create deep black tannin and rust stains within 48 hours.
- Neglecting end-grain sealing during construction: Every cross-cut made on legs and laminations exposes raw vascular tubes; seal these surfaces immediately with oil or wax as you cut them.
Taking the First Steps
Before buying timber or drawing detailed cutting lists, clear your designated cellar corner down to the bare stone. Sweep away loose mortar, vacuum the floor plate thoroughly, and run your circulation fan for a full weekend to see where the air settles and where stagnant pockets linger. Measure your access hatch or cellar stairs carefully, paying attention to overhead gas pipes and tight head-height turns; your bench sub-assemblies must fit through these clearances without risking injury.
Purchase a reliable digital thermo-hygrometer and log morning and evening humidity readings for seven days while you assemble your framing lumber. If your moisture readings sit steadily between 55 and 68 percent, your timber will stabilize predictably. Begin by cutting your leg timbers slightly over-length, stack them off the stone floor on scrap battens, and let the wood adjust to the cool, quiet subterranean environment before you strike your first joinery lines.